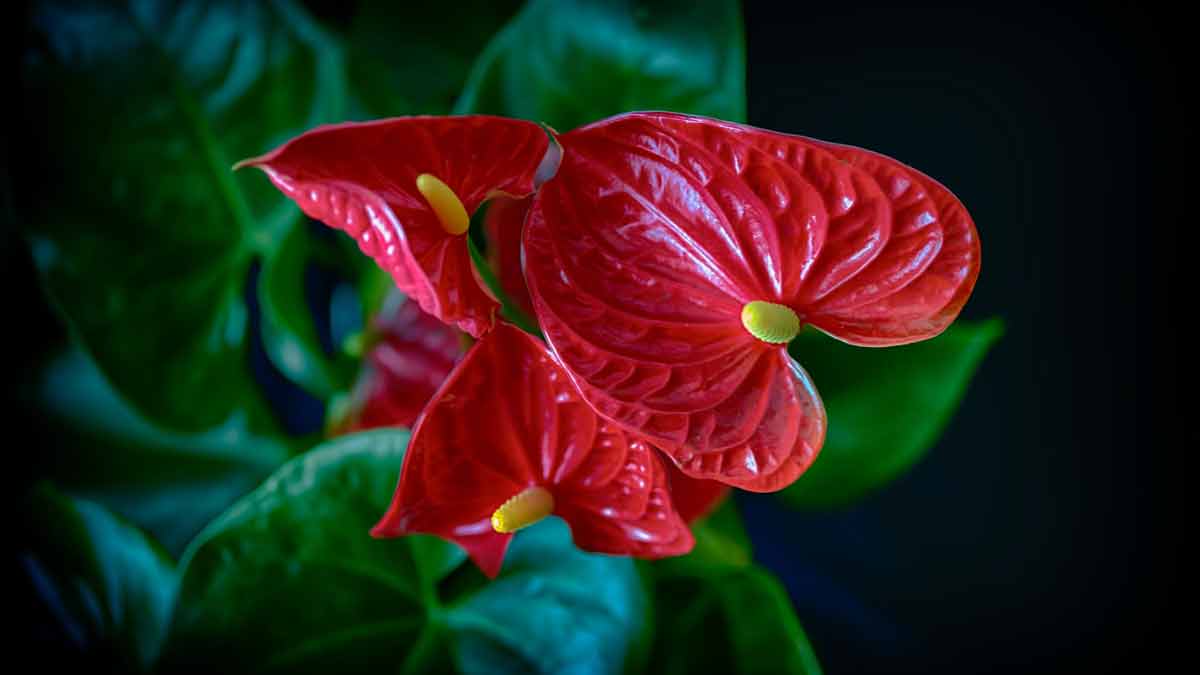
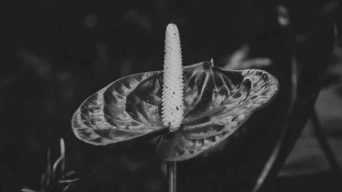
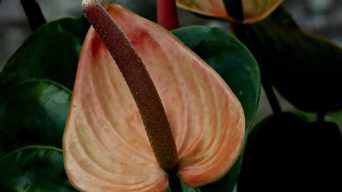
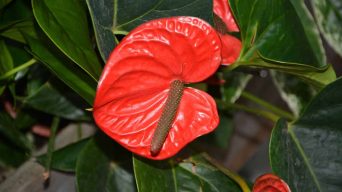
The Anthurium plant, also known as tailflower, flamingo flower, and laceleaf, is a tropical plant often grown as a houseplant or in gardens
They are known for their beautiful flowers, which come in various colors.
However, anthuriums can be susceptible to root rot, which can kill the plant.
This article will provide a complete guide on how to save an anthurium from root rot.
What Is Root Rot?
Root rot is a disease that affects the roots of plants.
It is caused by fungi or bacteria that invade the roots and cause them to decay.
The roots may become discolored, mushy, and smelly.
This can lead to the plant’s inability to absorb water and nutrients, which can kill the plant.
What Causes Root Rot?
Knowing what causes root rot is essential to avoid it in the future.
There are a few different things that can cause root rot:
Overwatering
Overwatering is the most common cause of root rot.
When the roots of a plant are constantly wet, they become vulnerable to fungal and bacterial infections.
They also have difficulty absorbing oxygen, leading to the roots’ decay.
If you think your indoor plant is overwatered, check the soil.
If it’s soggy or feels wet, it’s probably overwatered.
The best way to water an anthurium plant is to allow the top of the soil to dry out before watering again.
Poor Drainage
Poor drainage is another common cause of root rot.
When the anthurium roots are constantly sitting in water, they can become waterlogged and begin to decay.
It’s essential to ensure your anthurium is planted in a well-draining potting mix and that the pot has drainage holes.
If you’re unsure whether your pot has drainage holes, you can always drill some yourself.
Make sure the holes are big enough for water to drain easily.
Compacted Soil
Compacted soil can also lead to root rot.
When the roots are constantly pressed against compacted soil, they can’t get the oxygen needed to survive.
This can lead to the roots decaying.
If you think your anthurium’s soil is compacted, you can loosen it up by mixing in some perlite or sand.
Fungal Infections
There are many different fungi and bacteria that can cause root rot.
The most common include:
- Phytophthora species
- Pythium species
- Rhizoctonia species
- Fusarium species
These organisms are often found in soil, water, or plant debris.
They can invade the roots of plants through wounds or natural openings.
Once established, they can spread rapidly, causing the roots to rot.
Root Damage
Root damage can also lead to root rot.
This can be caused by physical damage, such as from gardening tools, chemical damage from herbicides, or biological damage from nematodes.
The roots may become infected with fungi or bacteria through the wounds.
This can lead to the roots rotting.
What Does Anthurium Root Rot Look Like?
There are a few different things you can look for to determine if your anthurium has root rot.
The most common signs include:
Wilting Leaves
The first sign of root rot is usually wilting leaves.
The leaves may droop or turn yellow.
This is because the plant is not getting the water it needs from the roots, as they are rotting.
Yellowing Leaves
Yellowing leaves is another common sign of root rot.
The leaves may turn yellow or brown and fall off the plant.
The plant’s rotting roots can’t absorb nutrients, so the leaves turn yellow and eventually die.
Dry and Shriveled Leaves
Dry and shriveled leaves are also a sign of root rot.
This is because the plant isn’t getting the water it needs, so the leaves dry out and eventually die.
Although, it’s important to note that dry and shriveled leaves can also be a sign of underwatering, so check the soil before assuming your plant has root rot.
Brown or Black Spots on Leaves
Black or brown spots on the leaves are another sign of root rot.
These spots are usually a sign of a fungal infection.
The spots may be small and brown or large and black.
They may also be raised or sunken.
Soggy Soil
Soggy soil is another sign of root rot.
If the soil is constantly wet or soggy, it’s a sign that the roots are rotting.
When the roots rot, they can’t absorb water, so the soil stays wet.
This can also lead to the plant’s leaves wilting or turning yellow.
Bad Smell
A foul smell is another common sign of root rot.
The roots may start to decompose, which can cause a foul odor.
If you notice a bad smell coming from your plant, it’s a sign that the roots are rotting.
Mushy and Blackened Roots
Mushy and blackened roots are the most obvious sign of root rot.
If you notice that the roots are soft, mushy, or black, it’s a sign that they are rotting.
Healthy roots are firm, white, or tan.
If you think your anthurium has root rot, the best thing to do is to take it out of the pot and check the roots.
If they are soft, mushy, or black, it’s a sign that the plant has root rot.
Stunted Growth
Stunted growth is another common sign of root rot.
If the plant’s roots are rotting, it won’t be able to get the nutrients it needs to grow.
This can cause the plant to stop growing or to grow slowly.
One of the first signs of stunted growth is usually smaller leaves.
If the plant’s leaves are smaller than usual, it’s a sign that it isn’t getting the nutrients it needs to grow.
How To Treat Anthurium Root Rot
Anthurium root rot is a severe problem, but it can be treated.
It’s crucial to catch the root rot early, as it can spread quickly and kill the plant.
Here is a step-by-step guide on how to treat anthurium root rot:
1. Remove the Plant From the Pot
The first step is to remove the plant from the pot.
Carefully take the plant out of the pot and check the roots.
If they are soft, mushy, or black, it’s a sign that the plant has root rot.
2. Clean the Roots
Once you’ve removed the plant from the pot, it’s time to clean the roots.
Remove as much old soil as possible, being careful not to damage the roots.
Then, rinse the roots with clean water.
3. Remove the Rotting Roots
The next step is to remove the rotting roots.
Carefully cut away any soft, mushy, or blackened roots.
Cutting away the rotting roots will help to stop the spread of root rot.
It’s essential to be careful not to damage the healthy roots.
4. Discard the Soil
After you’ve removed the plant from the pot and cleaned the roots, it’s time to discard the soil.
The old soil may be contaminated with fungi or other pathogens that can cause root rot.
It’s best to start with fresh soil when you replant the anthurium.
5. Wash the Pot
After you’ve removed the plant and the soil, it’s time to wash the pot.
Wash the pot with a solution of one part bleach and nine parts water.
This will help to kill any pathogens that may be in the pot.
6. Repot the Plant in Fresh Soil
Once you’ve removed the plant from the pot and cleaned the roots, it’s time to repot it in fresh soil.
Fill the pot with fresh, well-draining potting mix.
Then, carefully replant the anthurium, being careful not to damage the roots.
7. Water the Plant Lightly
After you’ve replanted the anthurium, water the plant lightly.
Be careful not to overwater the plant, as this can cause root rot.
Allow the soil to dry out between watering.
8. Keep an Eye on the Plant
Once you’ve replanted the anthurium, keeping an eye on the plant is essential.
Root rot can be a severe problem, but it can be treated.
If you catch it early, you can save the plant.
Monitor the plant closely for any signs of root rot, such as mushy or blackened roots.
If you notice any signs of root rot, follow the steps above to treat the plant.
How To Prevent Anthurium Root Rot
Anthurium root rot is a severe problem, but it can be prevented.
Here are some tips on how to prevent anthurium root rot:
1. Plant in Well-Draining Soil
The first step is to plant the anthurium in well-draining soil.
Root rot is caused by too much moisture, so it’s essential to plant the anthurium in soil that drains well.
2. Water the Plant Properly
The second step is to water the plant properly.
Be sure to water the anthurium deeply, but don’t overwater it.
Allow the soil to dry out between watering.
3. Avoid Overcrowding
The third step is to avoid overcrowding.
When planting anthuriums, be sure to give them enough space.
Planting them too close together can lead to crowded roots and poor air circulation, promoting fungi growth.
4. Provide Good Air Circulation
The fourth step is to provide good air circulation.
Be sure to plant the anthurium in an area with good airflow.
You can also improve airflow by pruning the plant regularly.
5. Use a Pot with Drainage Holes
The fifth step is to use a pot with drainage holes.
When potting anthuriums, be sure to use a pot with drainage holes.
This will help prevent the roots from sitting in water, leading to root rot.
If your pot doesn’t have drainage holes, you can drill them yourself.
6. Place in Bright indirect Light
The sixth step is to place the anthurium in bright indirect light.
Root rot is more likely to occur in low-light conditions.
So, be sure to place the anthurium in a spot where it will get bright indirect sunlight.
Avoid placing it in direct sunlight, as this can scorch the leaves.
7. Repot in New Soil Every One to Two Years
The seventh step is to repot the anthurium in new soil every one to two years.
Over time, the soil can become compacted and waterlogged, leading to root rot.
To prevent this, repot the anthurium in fresh, well-draining soil every one to two years.
Changing the soil will also help prevent the build-up of fungi and other pathogens and provide the plant with fresh nutrients.
8. Inspect the Plant Regularly
The eighth step is to inspect the plant regularly.
Check the anthurium for any signs of root rot, such as mushy or blackened roots.
If you notice any signs of root rot, follow the steps above to treat the plant.
Final Thoughts
If your anthurium has been affected by root rot, all is not lost.
You can save your plant and get it back to good health with the proper care.
Start by trimming away any affected roots and repotting the plant in a fresh, well-draining potting mix.
Water carefully, allowing the soil to dry out between waterings.
Be sure to provide plenty of light and humidity; your anthurium should soon be on the road to recovery.
Related Content
 How To Save a Dying Anthurium (11 Causes and Solutions)
 How To Fix a Leggy Anthurium (A Complete Guide)
 How To Save a Lucky Bamboo From Root Rot (An Easy Guide)
 Underwatered Anthurium: How To Identify, Treat and Prevent It
 Why Is My Anthurium Flower Turning Brown? Causes & Solutions
 Fixing Brown Spots on Anthurium Leaves: Causes and Solutions