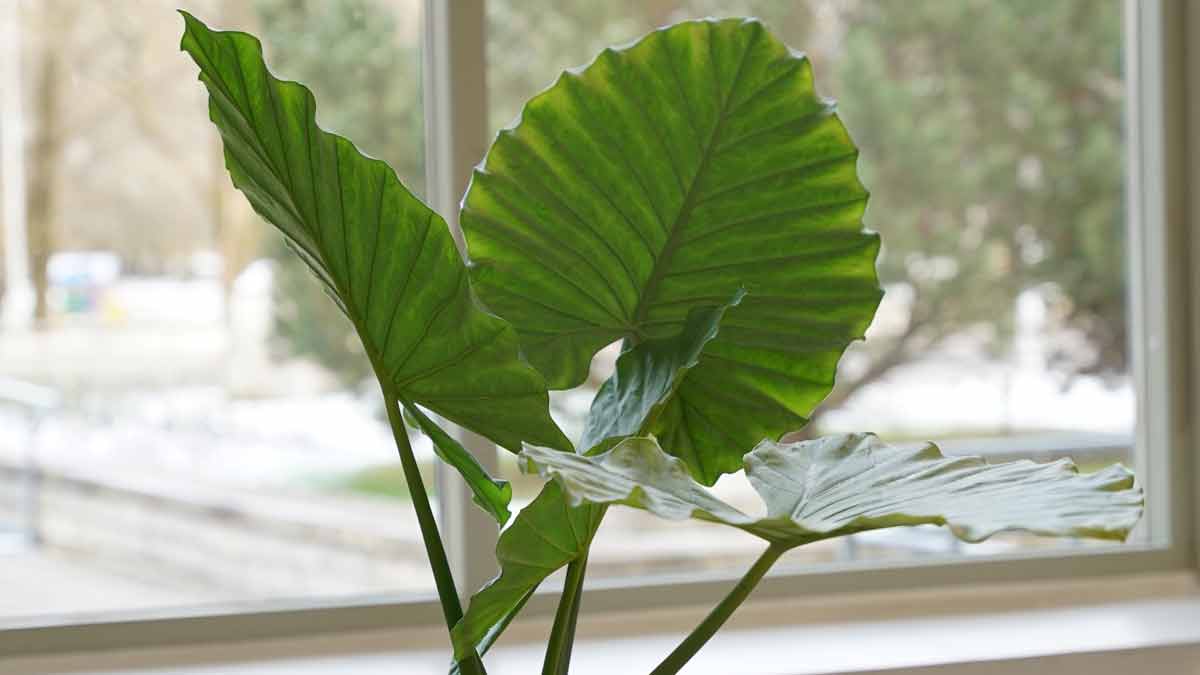
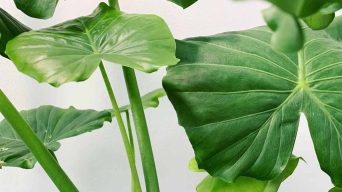
Elephant ears are a stunning addition to any home or garden.
Their large, tropical leaves create an impressive visual impact.
Successfully growing elephant ears in pots is achievable if you know the essential techniques and tips.
This blog will explore selecting the perfect pot, preparing nutrient-rich soil, ensuring optimal growing conditions, and effectively maintaining your potted Elephant ear plant.
Choosing The Right Pot For Elephant Ears
When growing Elephant ears in pots, choosing the right pot is crucial.
Several factors are to consider, such as the pot’s type, size, drainage requirements, and material.
These factors play a significant role in the plant’s growth and overall health, making it important to choose a suitable container.
Types Of Pots Suitable For Elephant Ears
Growing elephant ears in pots can be a rewarding and beautiful addition to your home or garden, and choosing the right type of pot is crucial for their success.
Here are some types of pots suitable for elephant ears:
- Ceramic pots: These pots provide excellent stability and weight, ensuring your large elephant ear plant remains upright as it grows.
- Plastic pots: Lightweight and affordable, plastic pots are convenient for growing elephant ears. Be sure to choose one with good drainage holes and adequate size.
- Terracotta pots: Known for their porous nature, terracotta pots allow excess moisture to escape, which can help prevent root rot in your elephant ear plants. Just be cautious of potential breakage due to their fragile composition.
- Fiberglass or resin containers: With the look of more expensive materials like ceramic or terracotta but at a fraction of the cost and weight, these containers are both durable and lightweight.
- Fabric pots: Made from a breathable material like geotextile fabric or felt, these pots allow roots to receive ample oxygen while assisting in drainage.
- Wooden planters: For an earthy aesthetic, consider sturdy wooden planters or raised garden beds constructed from untreated wood like cedar that resists rotting over time.
- Glazed ceramic pots: If you want a pop of color with the benefits of ceramic material, opt for glazed ceramic pots that offer both durability and visual appeal.
No matter which type you choose, be sure it provides ample space and good drainage for your Elephant ear plant to thrive indoors or outdoors throughout the growing season.
Size Considerations For Pot Selection
Selecting the appropriate pot size for your Elephant ear plant is crucial to ensure its healthy growth and development.
One crucial factor is that larger pots accommodate bigger plants, while smaller pots may restrict their growth.
It’s essential to consider the number of elephant ear bulbs you want to grow in each pot and their sizes.
Plant enthusiasts should remember that overcrowding can lead to limited root space and restricted access to nutrients and water, resulting in less healthy plants.
If you plan on cultivating multiple varieties of elephant ears or planting alongside other tropical plants within one large container, ensure sufficient space between them for proper airflow and room for root expansion.
Drainage Requirements For Elephant Ears
Proper drainage is essential for the healthy growth of elephant ears in pots, as these tropical plants thrive in moist but well-drained soil.
To ensure adequate drainage, select a pot with multiple drainage holes to prevent water from accumulating at the bottom and causing root rot.
To further enhance drainage conditions for your potted elephant ear plant, consider placing a layer of pebbles or coarse gravel at the bottom of the container before adding your growing medium.
This extra layer will assist in preventing compacted or overly wet soil while also elevating the tubers slightly above any excess moisture that may pool around the base.
Importance Of Pot Material
The pot material is an essential factor to consider when growing elephant ears in pots.
It can affect the drainage, air circulation, and temperature inside the container, significantly affecting the plant’s growth and health.
For instance, terracotta pots are porous and allow good airflow around the roots.
At the same time, plastic containers can trap moisture and heat.
Choosing the right pot material can help ensure optimal growing conditions for your elephant ear plants.
A suitable option is to allow excess moisture to drain away but retain enough water to keep the soil moist.
Good ventilation is also crucial; otherwise, stagnant air can lead to fungal diseases or pest infestations that harm your plants’ leaves or tubers.
Soil Selection And Preparation For Elephant Ears
To grow elephant ears in pots, selecting the right soil and preparing it appropriately are essential.
This requires careful consideration of the soil’s texture, nutrient content, and pH levels to provide optimal growing conditions for these plants.
Gardeners can ensure their elephant ears thrive and produce beautiful foliage by following proper soil selection and preparation techniques.
Choosing The Right Soil Type
Choosing the right soil type is crucial in successfully growing elephant ears in pots.
These plants require well-draining, nutrient-rich soil to thrive.
It’s best to use a loose and porous mixture that allows for good drainage while retaining moisture.
It’s important to note that elephant ears prefer slightly acidic soils with a pH level between 5.5 and 6.5.
If the pH level of your soil is too high or low, it can affect the plant’s growth and health negatively.
Mixing In Organic Matter For Nutrient-Rich Soil
If you want to grow Elephant Ears in pots successfully, it’s important to have nutrient-rich soil.
One way to achieve this is by incorporating organic matter into the soil mix.
Here are some tips:
- Use compost: Adding compost to your soil mix before planting can improve its texture and nutrient content.
- Use aged manure: Aged manure helps add nutrients and organic matter to the soil, but make sure it’s well-aged before use to avoid burning the roots of your Elephant Ear plants.
- Add peat moss: Peat moss can help loosen heavy soils and hold moisture in sandy soils, making it an excellent addition to any soil mix.
- Use worm castings: Worm castings are rich in nutrients essential for plant growth, including nitrogen, phosphorus, and potassium.
- Make your own potting mix: A simple recipe for a nutrient-rich potting mix includes equal parts of compost, peat moss or coconut coir, and perlite or vermiculite.
With these tips, you can create a healthy growing environment for your Elephant Ears in pots and ensure they thrive throughout the growing season.
Preparing The Soil For Planting
Once you have chosen the right pot for your Elephant ears, preparing the soil is crucial.
Elephant ear bulbs require a rich, well-draining soil that can retain moisture to support their growth.
Select a high-quality potting mix and add organic matter such as peat moss or compost to improve nutrient content and water retention.
Mix the potting mix and organic matter until evenly blended, making sure not to create any clumps.
Before planting the elephant ear bulb, ensure no rocks or debris are in the soil mixture.
Once you’ve prepared the soil, plant your elephant ear bulb with one-third of it exposed above ground level for optimum growth.
Planting Elephant Ears In Pots
Knowing how to plant elephant ears correctly for healthy growth is important if you plan to grow elephant ears in pots.
The right soil mixture and depth are crucial for successful cultivation.
Below you’ll find expert tips to help plant your Elephant ears in pots and ensure they thrive.
When To Plant Elephant Ears
For the successful growth of elephant ears, it is crucial to plant elephant ears at the right time to grow them successfully.
In warmer climates, elephant ears can be planted outside in May, while in cooler climates, they should be planted in June.
The soil temperature outdoors is an important factor to consider before planting, as the tubers will not sprout until the ground has warmed up sufficiently.
If you plan on growing Elephant ears in pots, you have more flexibility in terms of timing and location.
These tropical plants can be grown indoors or outdoors year-round with adequate care and attention.
It’s important to note that spring-planted bulbs may take a few weeks for sprouts to emerge, but once they do, growth should pick up quickly under optimal conditions.
How To Plant Elephant Ears
Planting Elephant Ears in pots is relatively easy with the following steps:
- Choose a large pot to accommodate the size of your elephant ear bulb or plant. A 10-14 inch pot should be good enough for most varieties.
- Fill the pot with nutrient-rich soil, leaving space at the top to plant the bulb or seedling. Mix organic matter such as peat moss or compost for better drainage and nutrition.
- Dig a hole in the center of the soil mixture that is deep enough to accommodate your plant’s entire bulb or root ball, with about an inch or so above ground level.
- Place your elephant ear bulb or seedling into the hole, ensuring it is upright and secure.
- Cover the bulb or root ball with soil but leave some space at the top to water and fertilize your plant in the future.
- Water your newly planted Elephant Ear thoroughly until water begins to drain out from the bottom of the pot, then place it in a location that receives partial shade (if outdoors) or bright indirect light (if indoors).
- Monitor soil moisture levels closely and water regularly to keep the soil moist but not too soggy. In winter months, reduce watering frequency accordingly.
Providing Optimal Growing Conditions For Elephant Ears
Providing optimal growing conditions is important to ensure the healthy growth of elephant ears in pots.
This includes selecting a location that receives partial shade, keeping the soil consistently moist (but not waterlogged), and maintaining temperatures between 60°F and 90°F.
Following these guidelines can help your elephant ears thrive and achieve their full potential.
Choosing The Right Location For Your Pot
When it comes to growing elephant ears in pots, choosing the right location for your pot is crucial.
Whether you’re placing your pot indoors or outdoors, it’s important to consider factors such as sunlight, temperature, and soil moisture when picking a spot.
For instance, since Elephant ears thrive in partial shade environments with moist soil conditions, placing them under direct sunlight could lead to damage or stunted growth.
Additionally, remember that the size of your pot will impact how much space your elephant ear plant has to grow and spread its leaves.
Large containers can help support larger plants and provide adequate root space.
Lastly, be mindful of potential pest infestations—indoor plants are at risk of spider mites.
In contrast, outdoor ones may attract snails and slugs during wet seasons.
Temperature And Humidity Requirements
Elephant Ears thrive in warm, humid conditions with temperatures ranging from 65-80 degrees Fahrenheit.
They can withstand cooler temperatures, but it may slow down their growth.
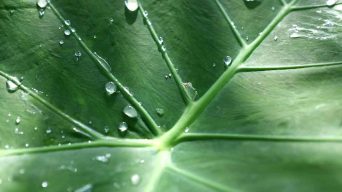
In terms of humidity, Elephant ears require a high moisture level to prevent the leaves from drying out and browning around the edges.
It’s important to note that while they love warmth and moisture, Elephant Ears shouldn’t be placed in direct sunlight as it can scorch their large leaves.
Instead, position them in bright indirect light for optimal growth.
Light Requirements For Growing Elephant Ears
Elephant ears require plenty of light to thrive, but direct sunlight can be too intense for their delicate leaves.
Place your pot in an area that receives bright, indirect light for at least six hours daily.
Not providing enough light will cause elephant ear plants to stretch and become leggy.
On the other hand, too much direct sun can cause leaf scorching and damage.
It’s crucial to strike the right balance regarding lighting requirements for these tropical plants.
Consider using sheer curtains or shade cloth if your plant receives too much direct sun.
Maintenance And Care For Elephant Ears
Proper maintenance and care are essential for the healthy growth and development of Elephant ear plants in pots.
Regular watering to keep the soil moist, fertilizing every two weeks during the growing season with a balanced fertilizer, and trimming leaves as necessary are crucial.
Addressing pest or disease issues immediately ensures the plant’s optimal health.
By following these steps, you can help your elephant ear plants thrive and enhance the beauty of your indoor or outdoor space.
Watering Frequency And Amount
Consistently moist soil is crucial for the healthy growth of elephant ear plants.
Providing around 2 to 3 inches of water every time is best when watering your elephant ear plant.
The soil should dry out a little bit before watering again.
Overwatering can lead to root rot, so be careful not to leave the soil waterlogged.
On the other hand, underwatering can cause the leaves and stems to wilt and turn yellow.
To maintain proper moisture levels in your potting mix, check the soil regularly by inserting your finger up to an inch deep into it.
Did you know that Elephant ear plants can survive in standing water?
However, following a regular watering schedule is still recommended instead of letting them continuously sit in excess moisture.
Fertilization Schedule For Elephant Ears
Elephant ears are heavy feeders and require regular fertilization to maintain their lush green leaves.
A high-nitrogen water-soluble fertilizer should be applied every 2-3 weeks during the growing season for optimal growth.
Following the recommended dosage on the package is essential to avoid over-fertilizing, leading to burnt foliage and stunted growth.
If you notice yellowing leaves or slow growth, it may be a sign that your elephant ear plant needs a boost of nutrients.
Pruning And Trimming For Healthy Growth
Pruning and trimming are essential for keeping your Elephant Ear plant healthy and promoting growth.
Here are some expert tips for pruning and trimming your Elephant Ear plant:
- Remove dead or damaged leaves: Dead or damaged leaves can attract pests or diseases, so removing them as soon as possible is important. You can use sharp pruning shears to cut the leaf off at the base of the stem.
- Trim away old growth: Trim away old stems or foliage to encourage new growth. Cut back the stem to just above a node where new growth will emerge.
- Control size: Elephant Ear plants can grow quite large, so regular pruning is necessary to control their size. Trim back any too tall or wide stems to keep the plant in shape.
- Divide bulbs: When Elephant Ear plants become overcrowded in their pot, it’s time to divide them. Carefully lift the bulbs from the soil and separate them into smaller sections with a clean, sharp knife. Replant each division in fresh soil.
- Sterilize tools: Before pruning your Elephant Ear plant, ensure your tools are clean and sterilized to prevent the spread of disease. Using rubbing alcohol or a diluted bleach solution to sterilize your tools.
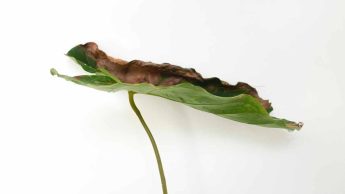
Pest And Disease Issues And How To Address Them
One of the biggest challenges in growing Elephant ears in pots is dealing with pest and disease issues.
Spider mites, mealybugs, and aphids are common pests that can attack these plants.
The best way to prevent pest infestations is to inspect your plant regularly and remove any affected leaves or stems as soon as you notice them.
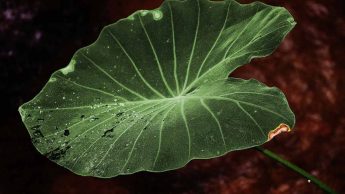
Fungal diseases like leaf spot and root rot are also a concern when growing elephant ears in pots.
To prevent fungal problems, ensure your pot has good drainage and don’t overwater your Elephant ear plant.
Another potential issue for elephant ear plants is bacterial wilt, which causes wilting and eventual death of the plant.
Growing elephant ears in pots require careful attention to pest management and prevention measures – but with the proper maintenance techniques outlined above – you’ll have happy, healthy Elephant Ears all year long!
Final Thoughts
Growing elephant ears in pots can be a rewarding and enjoyable experience for any plant enthusiast!
You can cultivate these tropical beauties indoors or outdoors by selecting the right pot and soil and providing optimal growing conditions.
Remember to choose a pot with ample drainage holes, use nutrient-rich soil with organic matter added to it, and place your container in an area with partial shade.
Keep the soil moist but not too wet, fertilize regularly, prune when necessary, and promptly address any pest or disease issues.
With proper care and attention, you’ll soon have lush green leaves towering over your container garden.
Remember to keep them away from curious pets or children, as they can be toxic if ingested.
Related Content
 How To Make Hostas Grow Bigger And Faster (15 Expert Tips)
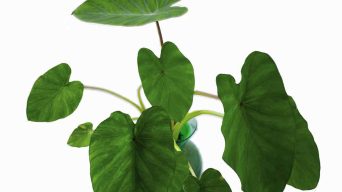
 Elephant Ear Leaves Drooping? (7 Causes and Solutions)
 How To Save a Dying Elephant Ear Plant: 11 Causes & Solutions
 Why Is My Elephant Ear Plant Dripping Water? (An Easy Guide)
 Elephant Ear Plant Leaves Turning Brown: Causes and Solutions
 Saving Your Overwatered Elephant Ear Plant: A Complete Guide