Root rot is a common problem caused by a fungus that affects the root system of a Pilea plant. It is often caused by overwatering, leading to mold and decay of the soil. Proper plant care, including monitoring soil moisture and cutting back affected leaves, can help prevent and treat root rot in Pilea houseplants.
Root rot is a common and potentially devastating issue for Pilea plant owners.
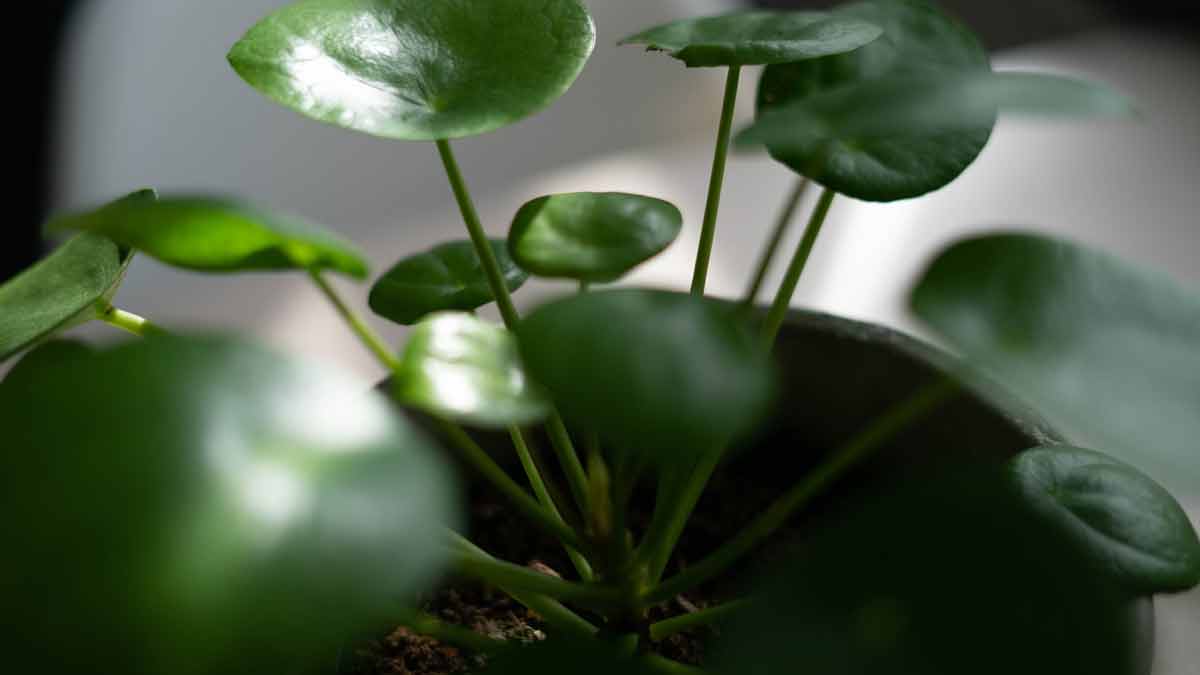
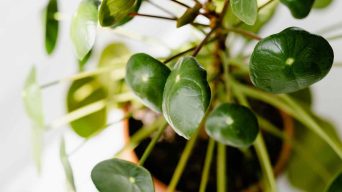
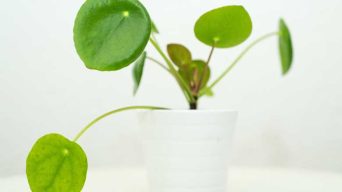
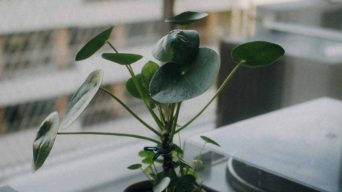
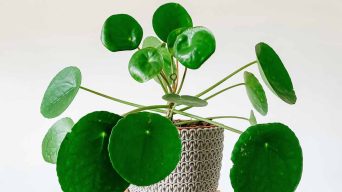
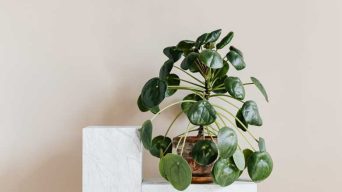
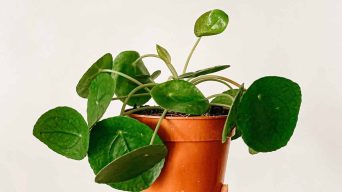
Also known as the Money Plant or UFO Plant, Pileas are beloved by many houseplant enthusiasts.
Unfortunately, root rot can cause serious damage if left untreated.
To help you protect your beloved Pilea, this guide delves into what causes root rot, how to spot the symptoms, and how to effectively treat it.
What Is Root Rot?
Root rot is a devastating plant disease that can be caused by fungi and bacteria.
Fusarium and Pythium are two of the most common fungi associated with root rot.
Fusarium is a soil-borne fungus that thrives on decaying or dead plant material, while Pythium is most often transmitted by fungus gnats.
Root rot begins when these fungi or bacteria make their way into the plant’s roots, where they multiply and consume the surrounding tissue, causing the roots to decay and die off.
What Causes Pilea Root Rot?
Pilea root rot can occur due to various contributing factors, such as:
Overwatering
Overwatering is the most common reason for root rot in Pilea plants. This occurs when too much water is applied to the plant or when watering is done too frequently.
When this happens, the roots become flooded and deprived of oxygen, which is essential for their health. In this state, they cannot function properly and eventually die off.
In addition, overwatering can lead to fungal and bacterial growth that further contribute to the deterioration of the root system.
Underwatering
Watering your Pilea too much is the most common cause of root rot, but not giving it enough water can also have a detrimental effect.
When Pilea plants are underwatered, their roots become stressed and weakened, making them more prone to disease.
Without adequate hydration, the roots start to die off, which can lead to root rot and other serious issues.
Poor Drainage
The roots of your Pilea must not be immersed in water for extended periods of time, or they will start to rot and eventually die.
To ensure that this does not happen, it is essential to make sure the pot has good drainage. This can be done by having holes in the bottom of the pot, which allows the excess water to escape.
Another way you can help with drainage is by using a well-draining soil mix, such as a blend of one part sand and two parts potting soil.
You can even include perlite or vermiculite in the mix for an added boost in drainage.
If you don’t have drainage holes at the bottom of your pot, it’s possible to make them yourself.
Compacted Soil
When it comes to the health of your Pilea plant, its roots are a critical factor.
If the soil around the roots is too tight, it can restrict them from getting enough oxygen for survival and lead to root rot.
To protect your beloved plant and keep it healthy, it’s essential that you loosen the soil to provide your Pilea’s roots with ample oxygen.
One way to achieve this is by breaking up and aerating the soil around the roots using a garden tool such as a fork or trowel. This will help create more air pockets in the soil, allowing for better airflow and improved oxygenation for the roots.
Root Damage
When repotting your Pilea, it is important to be careful not to damage the roots.
If they are harmed, they become more susceptible to diseases such as fungal and bacterial infections, root rot, and other illnesses.
The weakened roots can no longer absorb water and nutrients from the soil efficiently, leading to stunted growth and diminishing health.
Pests like aphids can also damage the roots of a Pilea, making it even more prone to illnesses.
Fungal and Bacterial Diseases
Root rot in Pilea plants is caused by fungi and bacteria, which thrive in wet, humid conditions.
These organisms can enter through wounds on the roots or directly into the root system, proliferating and multiplying as they grow. As a result, the plant’s roots will begin to rot away.
Common examples of fungi and bacteria that can cause root rot include Fusarium, Pythium, and Phytophthora species.
What Does Pilea Root Rot Look Like?
You can spot root rot symptoms by looking for a few tell-tale signs, including:
Yellow Leaves
When your Pilea leaves start to turn yellow, it could be a sign of root rot.
This happens when the plant’s roots are unable to absorb the necessary nutrients from the soil.
As a result, this deprives the Pilea of vital nutrition and causes the foliage to display yellowing discoloration.
Wilting Leaves
The drooping and wilting of Pilea leaves can identify root rot.
This is caused by the plant’s roots no longer being able to absorb water from the soil as they are rotting away, resulting in a lack of hydration for the leaves.
As the root rot progresses, it slowly becomes more difficult for the plant to take up moisture from its surroundings, leading to wilting and drooping of the leaves.
Brown Spots on the Leaves
The presence of brown spots on the leaves can identify root rot.
These spots are caused by the fungi or bacteria that have infected your Pilea plant’s roots.
As these fungi or bacteria continue to grow, they release toxins that can cause damage to the leaves, resulting in discolored and circular patches of differing sizes.
Dry and Shriveled Leaves
As the root rot begins to progress, your plant’s leaves will start to dry up and shrivel.
This is because the plant is no longer able to absorb moisture from the soil.
As a result, the leaves become dry and brittle and eventually detach from the stem of the plant.
Pale Leaves
Root rot is a common problem for many plants. It is caused by a fungus that affects the plant’s roots, preventing it from absorbing nutrients from the soil.
As the root rot progresses, the plant leaves will become pale and discolored. This is due to the lack of nutrients being delivered to them – they can no longer remain vivid in color.
Over time, these weakened leaves will eventually fall off the plant altogether.
Soft and Mushy Stems
Root rot can cause the stems of a plant to become soft and mushy, an effect that is caused by the roots not being able to absorb water efficiently from the soil.
As the root rot progresses, it gradually renders the roots less and less capable of effectively absorbing water. This then causes the stems to become soft and mushy due to decreased soil moisture uptake.
Soil with a Foul Odor
Root rot can be identified by a telltale sign: soil that has a putrid smell.
The pungent odor is produced by the fungi or bacteria that cause root rot as it grows and releases toxins into the soil.
The toxins present in the soil will leave an unmistakable stench, alerting you to the presence of the root rot. This can be especially noticeable when watering your plants because water will release those unpleasant odors from the soil.
Mushy and Black Roots
Root rot is a serious issue for many plants, caused either by fungi or bacteria that grow and spread in the root system.
As the organisms break down the roots, they become mushy and black in color, often clinging to the plant before eventually falling off. This is one of the last symptoms of root rot and can lead to irreversible damage if not caught early.
Stunted Growth
Root rot can have a detrimental effect on the overall growth of a plant, leading to stunted growth in the long term.
As the roots start to rot, their efficiency in absorbing nutrients and water from the soil is significantly reduced, resulting in slower or even arrested growth.
This can be particularly damaging for certain species of plants that require regular nutrient intake for healthy development.
How To Treat Pilea Root Rot
Do you think your beloved Pilea has root rot? If so, there are some steps you can take to treat it.
1. Remove the Plant From the Pot and Inspect the Roots
Take a close look at your Pilea plant and remove it from the pot.
Inspect the roots carefully to identify any signs of root rot, including mushy or blackened roots.
If you notice any of these, the roots are likely affected by root rot.
2. Cut Away the Affected Roots
Using a sharp tool like a knife or scissors, carefully cut away the affected roots from the plant. Be sure to remove any that appear mushy or black in color.
When trimming back the roots, take extra caution not to damage any of the healthy, intact ones.
You want to preserve as much of their structure as possible. This will help the plant recover.
3. Wash the Roots With Water
Once you have identified the affected roots, it is important to thoroughly clean them with a stream of cool water. This will help to eliminate any dirt, grime, or other impurities that may be present.
Additionally, rinsing away any excess soil can help to prevent the spread of disease and rot to other areas in the root system.
4. Discard the Soil and Roots
Once you have removed the roots that were affected by root rot, it is important to discard both the soil and the roots.
This is because there may be fungi or bacteria present in the soil or roots that caused the root rot, so trying to salvage them could potentially spread infection. It is safer to simply throw them away.
5. Clean the Pot and Put Fresh Soil in It
Cleaning the pot is an essential step before you can use it to re-pot a plant. Start by removing any old soil and roots that may remain from previous plants.
Use a gentle soap and water solution to remove dirt and debris from the inside and outside of the pot.
Be sure to rinse thoroughly, as any soap residue remaining on the pot could potentially harm your new plant.
Once the pot is clean, fill it with a fresh, sterile potting mix.
Potting mixes are designed specifically for potted plants, so select one with ingredients that suit your particular needs – like moisture retention or good drainage.
6. Place the Plant in the Pot and Water It Lightly
After filling the pot with fresh soil, it’s time to re-pot the plant.
Make sure to water lightly and don’t overwater, as this can cause root rot. When watering, be sure to keep the soil moist but not soggy.
Aim for the soil to have a consistent level of moisture so that your plant can grow properly and healthily.
It is also important to ensure that you are using clean water, as anything else may contain impurities or contaminants that can harm your plant.
Additionally, make sure that you are using containers or pots with proper drainage holes so that any excess water can escape and prevent root rot.
7. Place the Plant in a Bright Indirect Light
After you have reported the plant, make sure it is placed in an area with bright indirect sunlight.
Direct sunlight can cause damage to the leaves of the plant, so it is important to find a spot where the sunlight is more diffused and not overly strong.
The best location for this type of light is one that has bright sunshine throughout the day but isn’t directly exposed to direct rays of sun.
If the plant does not receive enough light, it could start to wilt and produce less foliage, which would reduce its overall health.
Additionally, if exposed to too much direct sunlight, some plants may even suffer from sunburns or bleaching, leading to permanent damage and loss of color.
To ensure optimal growth and development of your plant’s foliage, make sure it receives ample amounts of indirect light throughout the day.
8. Monitor the Plant Closely and Water When Needed
When placing the plant in a bright, indirect light area, it is important to keep a close watch on its condition.
The soil should be kept moist without becoming too wet, which can lead to root rot and damage the plant’s health.
To ensure sufficient hydration and growth, water the plant when the top inch of the soil is dry. This can be easily monitored by lightly pressing your finger into the soil or probing it with a wooden skewer. If the probe comes out relatively dry, it is time to water the plant.
Additionally, consider investing in a moisture meter to accurately gauge how much moisture is present in the soil. This device can determine whether or not more water is necessary to accurately provide enough hydration while avoiding overwatering.
How To Prevent Your Pilea From Getting Root Rot
One of the best ways to protect your Pilea from experiencing root rot is to practice preventive measures.
To ensure the health of your Pilea, here are a few tips:
1. Use Well-Draining Soil
Using well-draining soil is one of the essential steps for protecting plants from root rot.
When properly draining, the soil does not retain water for extended periods, thus avoiding the risk of drowning out the roots.
To ensure ideal drainage, it is important to select a potting mix that contains some organic matter, such as peat moss and perlite. Additionally, the soil should be able to hold moisture without becoming soggy.
For best results, it is recommended to mix together a variety of draining components such as sand, bark chips, or other lightweight materials.
Doing so can ensure that your plants remain healthy and strong for years to come.
2. Water the Plant When Needed
Watering the plant as needed is another effective way to ward off root rot.
To ensure the soil remains moist but not overly wet, it’s important to monitor the top inch of soil and water when it becomes dry.
For most plants, this will be on a regular basis, such as once or twice a week, depending on the environment.
3. Avoid Overwatering
Overwatering your Pilea can have devastating consequences, as it can lead to root rot. When watering, it is important to be mindful and not overdo it.
Too much water will cause the soil around the plant’s roots to become saturated, leading to root rot and, thus, a decrease in its health.
Excess water can also introduce other issues, such as fungal diseases and root pests.
To avoid root rot, only water your Pilea when the soil is slightly dry. This will help keep the roots healthy and free of disease.
4. Use a Pot With Good Drainage
A good way to prevent root rot is to choose a pot with effective drainage.
These pots have holes in the bottom that enable excess water to be expelled, avoiding the roots from becoming too saturated with moisture.
This is especially beneficial for plants kept indoors, as without adequate drainage, their roots can become overly moist and cause them to rot.
5. Place the Plant in Bright Indirect Sunlight
One effective way to avoid root rot is to ensure that the plant receives bright, indirect sunlight. This type of lighting will help keep the roots dry and healthy by preventing them from becoming overly wet.
Direct sunlight should be avoided, as it can damage the leaves by scorching them and causing discoloration.
It’s important not to overlook this step, as it can go a long way in helping to prevent root rot.
6. Provide Good Air Circulation
Good air circulation is key to preventing root rot, as it helps inhibit the growth of fungi and bacteria.
For optimal airflow, it is best to place the plant in a well-ventilated area, such as near an open window or in a spot with a breeze.
Alternatively, a fan can be used to increase the air movement around the plant.
7. Prune Dead or Dying Roots
Another way to prevent root rot is to prune dead or dying roots.
If you see any mushy or black roots, you will need to cut them away.
8. Check the Roots Regularly
By pruning away any dead or dying roots that are mushy or black in color, gardeners can help to prevent root rot.
This should be done carefully with the right tools and techniques, such as using sharp secateurs or scissors to make clean cuts.
Additionally, it is important to avoid damaging healthy roots while pruning out diseased ones. Taking these precautions will ensure that the plant is not stressed, enabling it to better resist root rot and other diseases.
Caring For Your Pilea After Root Rot
After your Pilea plant has recovered from root rot, it is important to take proper care of it to avoid future problems.
To keep your Pilea healthy and vigorous, make sure you:
- Provide adequate drainage for your Pilea. Make sure water doesn’t remain standing at the bottom of the pot after watering, and be careful not to overwater your plant.
- Allow the soil to dry between each watering, but don’t let it become bone-dry, or else root rot may occur again.
- Place your Pilea in a location with plenty of indirect sunlight.
- Check the soil regularly for signs of over-watering and adjust watering accordingly.
- Fertilize your Pilea using a balanced liquid fertilizer every two weeks from spring through fall, but avoid fertilizing during winter.
- Check your Pilea roots regularly to ensure they are healthy and free of rot.
You can keep your Pilea healthy and vibrant by taking simple steps such as providing adequate drainage, drying the soil between waterings, and giving it plenty of indirect sunlight.
With proper care, you can enjoy your Pilea for many years.
Final Thoughts
Pilea root rot can be a daunting problem, but with some extra attention and effort, your indoor plant can make a full recovery.
The key to success will lie in consistency and patience.
Taking the time to properly care for your Pilea can help ensure a healthy future.
Related Content
 Does Pilea Like to be Root Bound? (Everything You Need to Know)
 How Often Should You Water a Pilea Plant (A Complete Guide)
 How To Fix a Leggy Pilea Plant (An Easy Guide)
 How To Grow Pilea Plants in Water (The Ultimate Guide)
 Overwatered Pilea: How To Identify, Treat and Prevent It
 Why is My Pilea Dying? Common Reasons and Solutions