Key Takeaways
- Repotting peperomia plants is essential for their growth and overall health, replacing compacted soil with fresh nutrients.
- Signs that your peperomia plant needs repotting include root-bound conditions and deteriorating soil quality.
- To successfully repot a peperomia plant, you’ll need to gather the necessary tools, choose the correct pot size and type, prepare new soil, remove the plant from its old pot carefully, and transplant it into new soil while ensuring adequate watering, fertilization, and pest prevention techniques.
- Proper care after transplantation involves providing enough lighting without direct sunlight exposure (bright but indirect) and maintaining moderate watering habits by not overwatering or underwatering.
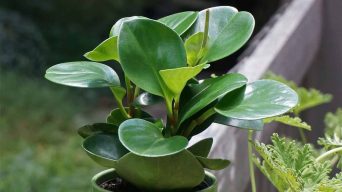
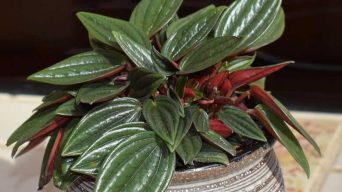
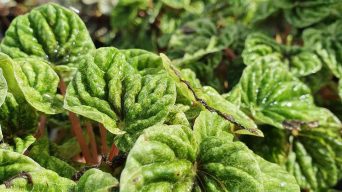
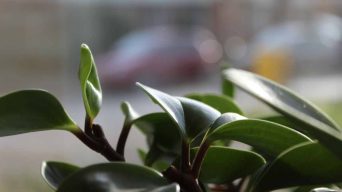
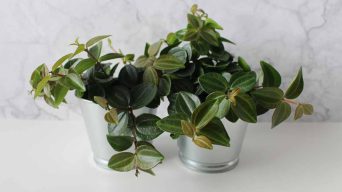
Peperomia plants are a popular and low-maintenance choice for houseplant enthusiasts, known for their unique foliage and easy-care requirements.
However, they’ll need occasional repotting with the right soil blend and techniques to keep these tropical beauties thriving.
This guide will walk you through repotting peperomia plants step-by-step, ensuring your indoor garden stays healthy and vibrant.
The Benefits Of Repotting Peperomia Plants
Repotting peperomia plants offers numerous benefits, improving their growth and overall health.
A primary advantage is an opportunity to replace compacted potting mix with fresh soil packed with essential nutrients.
Over time, the soils lose vital minerals required for optimal plant development, resulting in stunted growth or dieback.
Furthermore, repotting enables you to thoroughly inspect your plant’s root system and address potential issues such as root rot before they become severe problems.
Addressing these issues promotes a robust and healthy root system that produces more vibrant foliage above ground level.
Additionally, transferring your peperomia into a slightly larger container allows room for the natural expansion of roots, giving them access to more moisture and oxygen—essential components of successful growth in potted plants like watermelon peperomia or baby rubber plant varieties.
Signs That Your Peperomia Plant Needs Repotting
One of the key indicators that your Peperomia plant is due for repotting is when its roots become visibly cramped and start peeking out through the drainage holes at the bottom of the pot.
This implies that your beloved houseplant has outgrown its current container, leading to root-bound conditions and potentially compromised health.
Another sign that it might be time to upgrade your Peperomia plant’s residence comes from deteriorating soil quality.
Over time, potting mixtures can break down and become compacted, leading to reduced aeration and diminished drainage capacity.
A healthy root system requires oxygen-rich soil with good moisture management capabilities – this promotes nutrient uptake while preventing issues such as root rot.
Additionally, pay close attention to seasonal changes in your Peperomia plant’s appearance since they may provide clues about its need for repotting during its growing season.
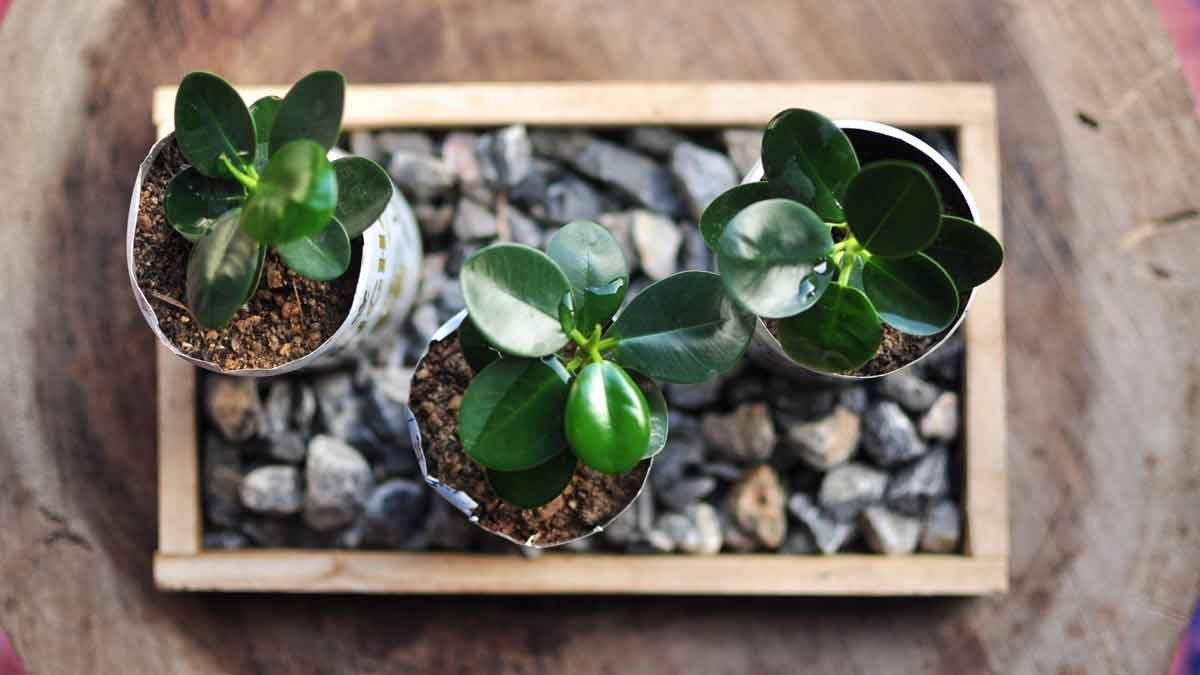
How To Repot Peperomia Plants (A Step-by-Step Guide)
If you want to repot a peperomia plant, you will need a few things. Get a new pot that is 1-2 inches larger than the current one, a potting mix labeled ‘Cactus & Succulent’, clean scissors, and gloves.
Mix the new soil with vermiculite or perlite for better drainage.
Carefully remove the plant from its old pot and separate any tangled roots. Cut off any dead or diseased roots using sharp scissors.
Put the plant in the middle of the new pot and fill it with fresh soil mixture. Press down firmly to prevent air pockets.
Gather The Necessary Tools And Materials
Before diving into the repotting process, gathering all the necessary tools and materials is crucial to ensure a smooth and efficient procedure.
Here is a list of items you will need:
- A new pot: Choose a pot with drainage holes that is slightly larger (about 1-2 inches) than the current one.
- Potting soil mix: Prepare an appropriate mix for peperomia plants, such as an equal combination of peat moss and perlite or coarse sand.
- Gardening gloves: Wear gloves to protect your hands from pesky splinters and potential skin irritation from the soil mix.
- Pruning shears or scissors: These will be used to trim away any dead or damaged roots, leaves, or stems during the repotting process.
- Trowel or gardening spoon: This tool will help remove the plant from its old pot and transplant it into the new one.
- Watering can or spray bottle: You’ll need water to moisten the new soil mix before transplanting your peperomia plant.
- Newspaper or plastic sheet: Spread this material on your working surface to catch any spilled soil and make cleanup easier.
Having these tools and materials ready beforehand will save time and ensure that you can successfully repot your peperomia plant without causing unnecessary stress to you and the plant.
Choose The Right Pot Size And Type
Choosing the right pot size and type is crucial when repotting Peperomia plants.
It’s important not to choose a pot that is too big, as this can lead to slower drying of the potting mix and increase the risk of root rot.
A good rule of thumb is to choose a new pot that is only one inch larger in diameter than the old one.
Additionally, it’s recommended to use pots made from plastic or clay instead of metal or glass since these materials don’t retain moisture well.
The choice of soil mix also matters when choosing a new container for your Peperomia plant.
To promote healthy root growth, mix a well-draining soil blend of perlite, composted bark, vermiculite, peat moss, or coconut coir in equal parts.
Preparing The New Soil
Before repotting your Peperomia plants, preparing fresh soil that provides adequate nutrition and proper drainage is important.
First, choose a potting mix suitable for Peperomia plants, which typically prefer neutral to slightly acidic soils with good aeration.
Next, add some orchid bark or charcoal to the mixture to improve drainage and prevent root rot.
It’s also a good idea to perform this process during the growing season when the plant is actively absorbing nutrients rather than during dormancy.
Removing The Peperomia Plant From The Old Pot
To start the repotting process of your Peperomia plant, you will need to remove it from its old pot.
Here’s how to do it properly:
- Water the Plant: Watering your Peperomia before transplanting can make removing it from its old pot easier. Ensure not to overwater it, as this could lead to excessive moisture in the soil.
- Loosen the Soil: Gently loosen the soil around the edges of the pot using a gardening spoon or trowel. This will help you lift the plant out easily without damaging the roots.
- Tilt the Pot: Hold onto the base of the plant and slowly tilt the pot on its side while holding onto the stem or leaves of your Peperomia.
- Tap or Squeeze: Give a gentle tap on all sides of the pot, if necessary, to loosen any stuck soil. If tapping doesn’t work, gently squeeze and twist on opposite sides of its container till leaves lose contact with the soil.
- Grab and Lift: With one hand supporting your Peperomia at its base, use your other hand to gently pull and lift it out of its old container, ensuring that you don’t pull too hard or forcefully tug on any leaves.
- Inspect Roots: Once removed from its old pot, inspect your plant’s roots for any signs of disease or root rot. Cut off dead or damaged parts before transferring them into their new pot.
Remember not to rush any step when removing your Peperomia from an old container, as treating your plant with care during this process will ensure that it continues growing well in new soil and space!
Transplanting The Peperomia Plant
Transplanting your Peperomia plant is important in ensuring its growth and health.
Follow these steps to transplant your Peperomia plant successfully:
- Loosen the root ball: Gently loosen the root ball of your Peperomia plant using your hands. This will help the roots adjust to the new pot.
- Remove the plant from the old pot: Hold the Peperomia plant at its base and gently pull it out of its old pot, being careful not to damage the roots.
- Transplant into new soil: Place your Peperomia plant into a new pot with fresh soil, ensuring it has ample drainage holes. The soil should comprise peat moss, orchid bark, and perlite for optimal nutrition and growth.
- Fill in with new soil: Use additional soil to fill in any empty spaces around your Peperomia plant’s roots, patting down as you go along.
- Water your transplanted Peperomia plant: Once you have completed transplanting your Peperomia Plant, give it some water till moist but not soaked.
Tips For Caring For Repotted Peperomia Plants
For your repotted peperomia plants to stay healthy and thrive, give them enough light and maintain the right temperature.
Proper watering and fertilization methods are also necessary, and keeping pests and diseases away from the plant is essential.
Adequate Lighting And Temperature
Peperomia plants thrive in bright, indirect sunlight, making them perfect indoor houseplants.
These plants prefer an average indoor temperature between 65°F and 75°F; anything above or below can cause damage to the foliage.
Be sure to place your peperomia plant in a well-lit area but avoid direct sunlight as it can scorch their leaves.
When repotting your Peperomia plant, place it in a location with stable temperatures and plenty of natural light.
Also, remember to rotate your plant regularly to ensure that all sides receive equal sunshine exposure.
Watering And Fertilization Techniques
Peperomia plants require specific watering and fertilization techniques to ensure their health and growth.
Here are some tips to follow:
- Watering: Peperomia plants should be watered infrequently, only once the top inch of soil has dried out. When watering, it is recommended that you use room temperature water and avoid overwatering as it can lead to root rot. Bottom watering is recommended as it allows the plant to absorb moisture slowly.
- Fertilization: The Peperomia plant should be fertilized monthly during the growing season using a balanced fertilizer with an equal amount of nitrogen, phosphorus, and potassium. Avoid over-fertilizing as it can cause the burning of roots leading to dieback.
Pest And Disease Prevention
Preventing pest and disease issues is essential to keep your Peperomia plants healthy.
One way to do this is by inspecting your plants regularly for signs of infestations or damage caused by pests like spider mites, mealybugs, and scale insects.
Another crucial aspect of preventing diseases in Peperomia plants is proper watering techniques.
Overwatering can cause root rot and other fungal infections that harm the plant’s health.
Additionally, removing any damaged or diseased leaves from the plant can help prevent further spread of disease-causing pathogens.
Taking proactive measures towards pest and disease prevention will help ensure optimal growth and health for your beloved Peperomia plants.
Final Thoughts
Repotting your peperomia plants is a great way to keep them healthy and thriving.
As we’ve learned, the process is straightforward but requires careful attention to soil choice, pot size, and root care.
Remember to give your plant adequate light and temperature conditions after repotting and maintain moderate watering habits.
Related Content
 How to Properly Prune Peperomia Plants (The Ultimate Guide)
 Do Peperomia Plants Like Humidity? (The Ultimate Guide)
 How Often Should You Water a Peperomia (A Complete Guide)
 Overwatered Peperomia: How To Identify, Treat and Prevent It
 Why Are My Peperomia Leaves Turning Black: Causes & Remedies
 Why Are My Peperomia Leaves Turning Yellow and How To Treat It