To propagate a Monstera plant from a cutting, find a node with an axillary bud and cut 1-2 inches below it. Moisten the rooting medium, make a hole, and insert the cutting. Keep it moist and in a warm, bright location. Another way is to place the cutting in water and replace the water every few days.
Propagating Monstera from cuttings is an easy and rewarding process that anyone with a little bit of patience can do.
All you need are some healthy, mature Monstera leaves and stems, a few basic tools and supplies, and the right environment to get started.
With just a few simple steps, you’ll be able to create new Monsteras in no time!
In this guide, we’ll discuss how to propagate Monstera from cuttings and tips for taking care of them during growth so they become strong plants.
So let’s get started!
Why Propagate Monstera Plants?
Are you a plant lover looking to expand your collection or share your green thumb skills with friends?
Propagating Monstera plants might just be the answer you’re looking for!
Not only is it a fun and rewarding activity, but it can also save you money compared to buying new plants.
The most common method of propagating Monstera plants is through stem cuttings. This involves cutting off a piece of the plant and encouraging it to grow roots in water or soil.
Cutting propagation is popular because it’s relatively easy and highly successful.
Plus, Monstera plants are known for their ability to grow quickly, so you can have a new plant in no time!
But why stop at just one new plant?
With cutting propagation, you can create multiple new plants from just one mother plant. This means you can expand your collection without spending a lot of money on new plants.
If you have friends who are also plant enthusiasts, propagating plants is a great way to share your love of gardening and give them a gift that keeps on growing.
Another benefit of propagating Monstera plants is that it allows you to experiment with different growing conditions. You can try different soil types, nutrients, and light levels to see what works best for your plants.
This is great if you’re a beginner gardener or just want to learn more about plant care!
Methods of Propagating Monstera Plants
In addition to cutting propagation, there are other methods of propagating Monstera plants, such as air layering, division, and seeds.
Air layering involves creating a small wound on the stem of the mother plant and then wrapping it with moist sphagnum moss until roots develop.
Division involves separating the parent plant into smaller sections and planting them separately.
And lastly, propagating Monstera plants from seeds is possible, but it’s a much slower process.
Remember to be patient and gentle with your new baby plants, no matter which method of Monstera propagation you choose.
They may take some time to establish themselves and start growing, but they will thrive in their new home with proper care and attention.
Steps to Propagate Monstera from Cutting
Propagating your Monstera plant from cuttings is a relatively easy process.
Before you start propagating your Monstera plant, it’s important to gather all the necessary supplies.
Here’s what you’ll need:
- Pruning shears or a sharp knife
- A clean container filled with water or potting soil
- Rooting hormone (optional)
- A spray bottle filled with water
Once you have all the supplies ready, it’s time to find the right time for propagation.
The best time to propagate your Monstera plant is during its growing season, which typically runs from spring to summer.
During this time, the plant is actively growing and producing new leaves, making it easier for cuttings to take root.
Now that you have everything ready let’s move on to the steps of propagating Monstera from cuttings.
1. Choosing a Monstera Cutting
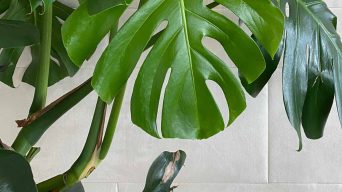
Choose a healthy stem cutting from the mother plant. A plant that is struggling or diseased will not produce a successful cutting.
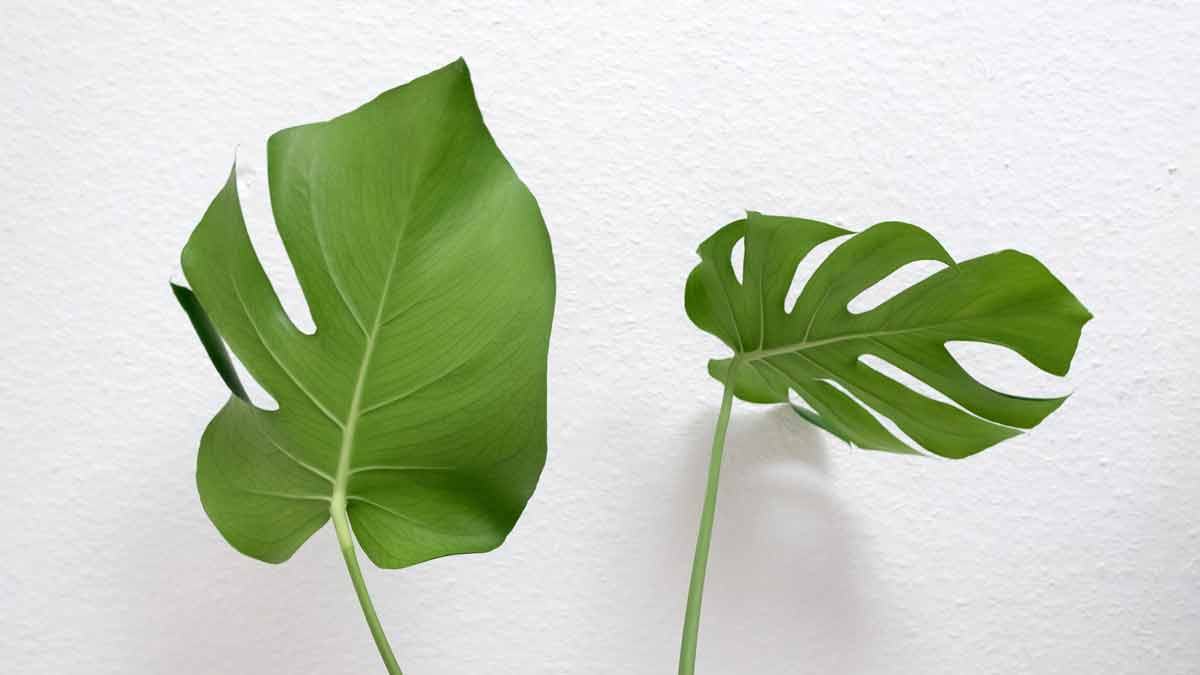
Look for a Monstera with vibrant green leaves, strong stems, and no signs of pests or disease.
Next, select a cutting with at least one node. The node is where the new roots will emerge from, so it’s essential for successful propagation. Propagating a Monstera without a node will not work.
Nodes are typically located where leaves meet the stem and can be identified as small bumps on the stem.
Different types of cuttings can be used for propagation.
Stem cuttings are the most common and involve cutting off a section of stem with at least one node.
Leaf cuttings can also be used but require more patience as they take longer to root.
2. Preparing the Monstera Cutting
Look for stems that are at least 6 inches long with a few leaves and aerial roots.
Once you’ve identified a suitable stem, it’s time to make a clean cut below the node.
Using sharp and sterilized pruning shears or scissors, make a straight cut just below the Monstera node.
It’s important to avoid crushing or damaging the stem, as this can impede root growth.
After making the cut, remove any extra leaves or sheathing from the stem. This will help prevent excess moisture loss and allow more energy to be directed toward root development.
Be sure not to remove too many leaves, as they play an important role in photosynthesis and provide energy for growth.
3. Rooting the Monstera Cutting
Once the cutting is ready, it’s time to place it in a suitable medium.
There are two main methods for rooting Monstera cuttings: in water or soil.
Both methods have their pros and cons, so it’s up to you to decide which one works best for you.
Water Propagation Method
Propagating Monstera plants in water is perhaps the most popular way to root Monstera cuttings.
It’s easy to do and allows you to see the roots as they develop.
Here are the steps involved:
- Gather Supplies: You’ll need a clean jar or vase filled with room temperature water (preferably distilled), a pair of clean scissors or pruning shears, and your Monstera cutting.
- Choose Your Cutting: Look for a healthy stem with at least one node (the point where leaves emerge from the stem). Cut below the node using sharp scissors or pruning shears.
- Place Cutting in Water: Place your cutting in the jar or vase filled with water so that the bottom of the stem is submerged but not touching the bottom of the container.
- Keep Cutting Moist and Warm: Place your jar or vase in an area that receives bright but indirect sunlight and keep it away from drafts. Change out the water every few days to keep it fresh and prevent bacteria growth.
- Monitor Progress: After a few weeks, you should start seeing roots emerging from the bottom of your cutting. Once they reach about an inch long, you can transplant your cutting into soil.
Water propagation is an easy and straightforward way to propagate Monstera plants.
However, it does require more frequent maintenance than rooting in soil.
Soil Propagation Method
The soil propagation method involves planting your Monstera cutting directly into soil instead of placing it in water first.
This method can be more challenging because you can’t see what’s happening beneath the surface.
But it can also be more rewarding because your plant will establish itself faster once it starts growing roots.
Here are the steps involved:
- Gather Supplies: You’ll need a clean pot filled with well-draining potting mix (such as a mixture of peat moss, perlite, and vermiculite), a pair of clean scissors or pruning shears, and your Monstera cutting.
- Choose Your Cutting: Look for a healthy stem with at least one node (the point where leaves emerge from the stem). Cut below the node using sharp scissors or pruning shears.
- Plant Your Cutting: Make a small hole in your potting mix using your finger or a pencil and gently insert your cutting into it so that only about half an inch of the stem is above ground level.
- Keep Cutting Moist and Warm: Water your cutting lightly but regularly so that its soil stays moist but not too wet (overwatering can cause rot). Place it in an area that receives bright indirect sunlight and keep it away from drafts.
- Monitor Progress: After several weeks, gently tug on your plant to see if there’s resistance indicating that roots have started growing into its soil mixture yet; if there isn’t any resistance yet, then wait another week before checking again until there is some resistance when tugging on its base/root ball area indicating root growth has begun!
Once roots have established themselves well enough within their new home, then transplanting them into larger pots may be necessary depending upon how much space they require!
4. Transplanting Your Monstera
Once your Monstera cutting has developed strong roots, it’s time to transplant it into a larger pot.
Choose a pot that is at least twice the size of its current container, and make sure it has good drainage.
Gently remove the cutting from its current pot and place it in the new one, making sure to add fresh soil around it and patting the soil down lightly.
Water your newly transplanted cutting thoroughly, making sure there’s no excess water pooling in its pot.
Place it in an area with plenty of bright but indirect sunlight and avoid drafts.
Your Monstera should start to grow and thrive in its new home!
Tips for Propagating Monstera Cuttings Successfully
To successfully propagate Monsteras from cuttings, here are some tips to keep in mind to ensure success:
Temperature and Humidity Requirements
Monstera plants thrive in warm and humid environments.
When propagating a monstera cutting, keeping it in an area with consistent temperatures between 65-85°F (18-29°C) and humidity levels around 60% is important.
You can achieve this by placing the cutting in a clear plastic bag or container with some holes for ventilation.
This will create a mini greenhouse effect that will help the cutting retain moisture and encourage new growth.
Proper Lighting Conditions
While monstera plants prefer bright indirect light, newly propagated cuttings should be kept out of direct sunlight until they have established roots.
Place the cutting in an area with bright but filtered light, such as near a north-facing window or under grow lights.
Once the roots have developed, you can gradually introduce the plant to more direct sunlight.
Watering and Fertilizing Needs
When propagating a monstera cutting in water, change the water every 3-5 days to prevent bacterial growth and ensure that the cutting has access to fresh nutrients.
You can also add some liquid fertilizer to the water every few weeks to give the cutting an extra boost of nutrients.
If you’re propagating your monstera cutting in soil, make sure that the soil is moist but not waterlogged.
Water when the top inch of soil feels dry to the touch.
You can also fertilize your new plant with a balanced fertilizer every few months during its growing season (spring through summer).
Common Mistakes to Avoid
One common mistake when propagating monstera cuttings is overwatering.
While keeping your cutting hydrated is important, too much water can lead to root rot and other issues.
Ensure your container has drainage holes and you’re not leaving your cutting sitting in standing water.
Another mistake is exposing your new plant to too much direct sunlight too soon.
Monstera plants are sensitive to intense light, so it’s important to acclimate them to brighter conditions over time gradually.
In addition, avoid using tap water when propagating your monstera cutting as it may contain chemicals like chlorine or fluoride that can harm your plant.
Instead, use distilled or filtered water for the best results.
Caring for Propagated Monstera Plants
Congratulations on successfully propagating your Monstera plant!
Now that you have new baby plants, it’s important to know how to care for them properly. In this section, we’ll discuss the steps you need to take to ensure your propagated Monstera plants thrive.
Watering Your Propagated Monstera Plants
One of the most important things you can do for your newly propagated Monstera plants is to provide them with the proper amount of water.
While it’s essential not to overwater them, you also don’t want them to dry out completely.
The best way to water your propagated Monstera plants is by keeping the soil moist but not soggy.
You can achieve this by watering them once a week or when the top inch of soil feels dry.
Lighting Requirements for Propagated Monstera Plants
Monstera plants love bright, indirect light; your propagated plants are no exception.
Place them in a spot where they can receive plenty of natural light but avoid direct sunlight as it can scorch their leaves.
If you’re growing your propagated Monstera plants indoors, consider placing them near a north-facing window or using grow lights if natural light is limited.
Providing Nutrients for Your Propagated Monstera Plants
To keep your propagated Monstera plants healthy and thriving, they need proper nutrition.
You can achieve this by fertilizing them every two weeks during the growing season (spring and summer) with a balanced fertilizer.
Be sure to follow the instructions on the fertilizer package carefully and avoid over-fertilizing, as it can burn their roots.
Common Issues with Propagated Monstera Plants
While propagating Monstera plants is relatively easy, some common issues can arise with newly propagated plants.
One issue is root rot caused by overwatering or poor drainage.
To prevent Monstera root rot, make sure your pot has drainage holes and avoid leaving standing water in saucers or trays.
Another issue is pests such as spider mites or mealybugs that can infest your propagated Monstera plants.
To prevent pest infestations, regularly inspect your plants and treat any issues promptly with insecticidal soap or neem oil.
Final Thoughts
No matter which method you choose, propagating monstera cutting is an easy and rewarding endeavor.
There is no one right way to do it – depending on your environment, materials available, and preferences, you may find that one of these methods works better for you than another.
The key is to find what works best for you, experiment and have fun!
Taking cuttings and watching them grow into mature plants is a satisfying experience for any green thumb.
With time, patience, and the right technique, you can have your own swiss cheese plant family in no time!
Good luck!
Related Content
 How to Propagate Monstera in Water: A Step-by-Step Guide
 Monstera Air Layering: A Better Way to Propagate Your Plant
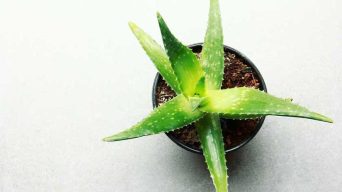 11 Easiest Succulents To Propagate From Leaves and Cuttings
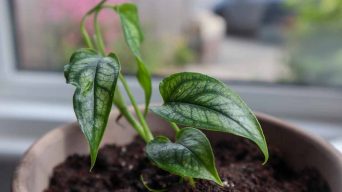 Monstera Siltepecana Care: The Silver Monstera Growing Guide
 Can I Make My Monstera Variegated? (A Complete Guide)
 Understanding Monstera Leaf Growth Stages: A Complete Guide