Key Takeaways
- Water propagation for rubber plants offers faster and easier rooting, greater control over plant growth, and is more cost effective than buying new plants or using soil.
- To propagate a rubber plant in water, select a healthy stem with at least one node, submerge it in clean room temperature water avoiding direct sunlight, and monitor the progress regularly.
- Tips for successful water propagation include changing the water regularly to prevent rot, maintaining consistent temperature and humidity levels between 65-80 F° and above 60% humidity, and adding diluted liquid fertilizer to support nutrient delivery when roots have started growing.
If you’re a proud plant owner looking to expand your indoor jungle, why not propagate rubber plants in water?
This popular and economical method creates new, healthy plants from simple cuttings.
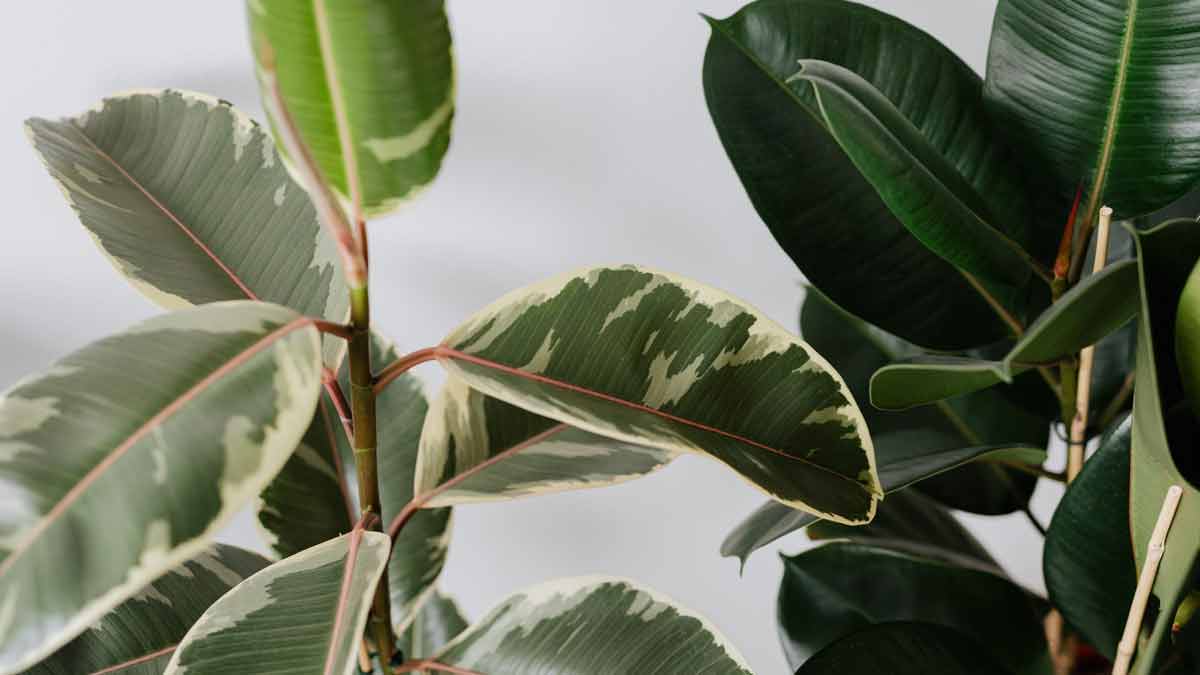
In this step-by-step guide, we’ll show you how easy it is to multiply your rubber plants (Ficus elastica) without breaking the bank or getting your hands dirty with soil.
Benefits Of Water Propagation For Rubber Plants
There are numerous benefits to water propagation for rubber plants.
This method enables quicker and simpler rooting, is more cost-effective than purchasing new plants, and allows for greater control over the growth of the new plant.
Faster And Easier Rooting
One of the most appealing aspects of water propagation for rubber plants is the faster and easier rooting process.
Unlike traditional methods, such as soil propagation, water provides a more transparent environment that allows you to observe and monitor root development without disturbing the cutting.
For instance, imagine propagating your prized Ficus elastica in a jar filled with water; within a few weeks, new roots emerge from the submerged stem cutting.
As these roots grow and strengthen over time, your once small cutting will soon transform into a thriving rubber plant with visibly healthy root growth.
More Economical
Propagating rubber plants in water is not only an efficient way to grow new plants, but it’s also a highly cost-effective method.
Unlike using soil and other growing mediums that can be expensive, water propagation requires minimal resources.
Simply using tap water or filtered water in a container with your stem cutting or leaf node will save time and money.
Additionally, fewer materials are consumed overall with no need for repotting as the roots develop directly in the water environment until ready for transplanting into the soil.
Better Control Over Plant Growth
Water propagation for rubber plants offers an excellent opportunity to have better control over the growth of your new plant.
As the developing roots are visible through the water, you can monitor their progress and ensure they’re growing in a healthy manner before transferring them to the soil.
This control level is particularly beneficial when propagating multiple cuttings, enabling you to create a more uniform batch of young plants.
By keeping track of each cutting’s root growth and adjusting factors like water temperature or nutrient levels accordingly, you can ensure all new rubber plants achieve similar growth rates and health status before moving into potting mix or well-draining soil.
Step-by-Step Guide To Propagating A Rubber Plant In Water
To propagate a rubber plant in water, start by selecting a healthy branch with at least one node and cutting it at a 45-degree angle using sharp and clean shears or a knife.
Next, remove any leaves from the lower part of the cutting and wipe off any sap to prevent bacterial growth.
Submerge the cutting in a jar filled with room temperature water, ensuring that only the stem’s base is underwater.
Place the jar in a bright spot away from direct sunlight to encourage root development, and change the water every few days to prevent stagnation.
After several weeks, check for new roots that are at least an inch long before transferring your rooted cutting into well-draining soil.
Provide proper care for your new plant by initially keeping it out of direct sunlight but gradually increasing its exposure as it grows stronger.
Selecting A Healthy Rubber Plant
Before propagating a rubber plant in water, selecting the right branch from a healthy mother plant is crucial.
Look for a stem with at least three nodes and two leaves, essential for rooting new growth.
Ensure the leaves are healthy and free from lesions, yellowing, or discoloration; this indicates poor health or disease.
A good sign of a healthy rubber plant is one with vibrant green foliage that stands upright without drooping or wilting.
Once you’ve found a suitable cutting, use clean shears or a knife to cut off 4-6 inches long stem just below the node’s base.
Preparing The Cutting
Before submerging the cutting in water, it is important to prepare it properly.
First, select a healthy stem that measures around 6 inches long with at least two leaves attached.
Remove any leaves from the bottom one-third of the cutting as they can rot under water.
Also, cut any remaining large leaves in half to reduce moisture loss and direct energy toward root growth instead of foliage.
Once prepared, place the cutting in a jar or vase filled with room temperature water, ensuring only the bottom inch is submerged.
Submerging The Cutting In Water
After selecting a healthy branch, it is time to submerge the cutting in water.
Fill up a glass jar with clean and room temperature water.
Avoid using chlorinated or too cold water as it can harm roots development.
It’s important not to overfill your container since you don’t want any leaves underwater, which leads to rotting.
Additionally, ensure no stem parts are submerged under the water because this will encourage bacterial growth and hinder root development.
Monitoring The Cutting Regularly
As you wait for your rubber plant cutting to grow roots, it’s essential to monitor it regularly.
Check the water level daily and add more to ensure the cutting stays submerged.
Monitor the leaves to ensure they don’t begin yellowing or wilting.
It’s also a good idea to gently wiggle the cutting every few days to encourage root growth and prevent it from becoming stuck in one position.
With patience and careful monitoring, you’ll eventually see new roots sprouting from your rubber plant cutting.
Transferring The Rooted Cutting To Soil
Once the cutting has developed roots, it’s time to transfer it to the soil.
Use a small plastic pot filled with well-draining soil or a mixture of perlite and soilless potting mix.
Gently remove the rooting cutting from the water and carefully loosen any roots that may have tangled.
It’s best if you water lightly after planting and place the new plant in bright indirect light for two weeks before gradually moving it into direct sunlight.
During this phase, be careful not to overwater, as too much moisture can cause root rot.
Tips For Successful Water Propagation
To successfully propagate plants in water, it’s important to change the water often to avoid rot and use rooting hormone to promote quicker root growth.
Keeping The Cutting Out Of Direct Sunlight
Rubber plants are sensitive to direct sunlight, especially in the early stages of growth.
When propagating a rubber plant in water, keeping the cutting out of direct sunlight and placing it in bright but indirect sunlight instead is essential.
To ensure successful root development while propagating a rubber plant in water, consider placing your jar or vase of cuttings on a windowsill that gets filtered light or near a small window with sheer curtains.
Another option is to use artificial grow lights with low-intensity bulbs for several hours each day until the new roots have developed.
Regularly Changing The Water
One crucial step in successfully propagating a rubber plant in water is regularly changing the water.
This ensures the roots have access to fresh, clean water and prevents harmful bacteria or algae buildup.
Changing the water every 1-2 weeks or whenever it appears cloudy or murky is recommended.
When changing the water, rinse the cutting with clean tap water before placing it back into its jar with fresh water.
Using Rooting Hormone
Consider using rooting hormone powder to increase the chances of successful water propagation for your rubber plants.
This powder contains plant hormones that stimulate root growth and can speed up the process of growing new roots from cuttings.
Rooting hormone is especially helpful if you’re trying to propagate more challenging plants or want to ensure a higher success rate with your rubber plant cuttings.
However, remember not to overuse rooting hormone, as too much can harm the cutting’s ability to grow roots.
Maintaining Consistent Temperature And Humidity
Rubber plants thrive in warm and humid environments, so maintaining consistent temperature and humidity levels is crucial for their successful water propagation.
Keep the rubber plant cutting between 65-80 degrees Fahrenheit and above 60% humidity for optimal growth.
Placing the propagated plant in areas with sudden changes in temperature, such as near doors or vents, could harm it.
To maintain proper humidity levels while propagating your rubber plant in water, consider using a plastic bag or dome to create a mini greenhouse environment.
You can also add sphagnum moss around the base of the cutting to retain moisture and prevent it from drying out.
Providing Proper Nutrients
Proper nutrient delivery is crucial for successfully propagating rubber plants in water.
As we know, water lacks many nutrients essential for plant growth.
Therefore, adding a small amount of liquid fertilizer to the water is recommended once the roots have started growing.
Additionally, you can periodically change the water and replenish it with fresh nutrients.
If your rubber plant cutting shows signs of slow growth or yellowing leaves, it may indicate that it needs more nutrients.
In such cases, consider adding some diluted liquid fertilizer to boost your cutting.
Common Problems And Solutions
If you notice yellowing leaves and stunted growth in your plant, it could be due to over or underwatering, poor soil quality, or inadequate sunlight.
To address this issue, adjust the plant’s environment accordingly.
Excessive moisture in the soil can cause stem rot; to fix it, remove all affected parts of the plant and ensure proper drainage in the pot.
Over-fertilization may result in leaf burn and root damage, so reducing fertilizer application or diluting it before use is best.
Yellowing Leaves And Stunted Growth
Yellowing leaves and stunted growth are common issues that may arise when propagating rubber plants in water.
These problems can occur due to a lack of proper care, including underwatering, overwatering, or improper environmental conditions.
Additionally, closely monitoring your rubber plant cutting for any signs of yellowing or wilting leaves is important.
If you notice these symptoms, adjust your watering schedule and consider using a rooting hormone to support healthy root growth.
Stem Rot
Stem rot can be a frustrating problem when propagating rubber plants in water.
This common issue occurs when the cutting stem begins to decay due to excess moisture or poor soil drainage.
It is important to take proper care and attention during propagation to prevent stem rot.
Firstly, sterilize your cutting tools before use and select healthy cuttings with no signs of damage or disease.
Secondly, change the water frequently and ensure the cutting is not submerged too deeply.
If stem rot does occur, it’s recommended to cut off the affected section immediately using a clean pair of scissors or knife and apply a fungicide to prevent further damage.
Over-Fertilization
Over-fertilizing rubber plants is a common mistake that plant owners make.
Applying too much fertilizer can lead to an accumulation of salts in the soil, which can cause damage to the roots and inhibit growth.
To prevent over-fertilization, following the recommended dosage on the label is essential.
Rubber plants typically require fertilization every few weeks during their growing season (spring and summer).
It’s also important to water your plant thoroughly before applying fertilizer to avoid burning its delicate roots with undiluted nutrients.
Pests And Diseases
Mealybugs and spider mites commonly infest rubber plants.
These pests can cause damage to the plant’s leaves, causing them to turn yellow or wilt.
To remove these pests, it is recommended to use insecticidal soap regularly.
Another common issue that rubber plants may face is powdery mildew, which causes white fuzzy patches on the plant’s foliage.
If you notice any leaf problems with your rubber plant, potential solutions are available depending on the disease affecting it.
For example, if you see brown spots on the leaves of your rubber figs, this could indicate a bacterial infection that requires immediate treatment with copper fungicide solution sprayed onto the affected area.
It’s important to keep a close eye on your rubber plant and deal with any problems promptly.
For specific pests or diseases, use appropriate remedies.
When propagating new cuttings, start by growing them in water and then transfer them to the soil once they have developed strong roots.
Keep an eye on their progress by checking periodically.
Final Thoughts
Now that you know how to propagate your rubber plants in water, it’s time to put this knowledge into practice.
Water propagation is an easy and cost-effective way to grow new plants from cuttings from a healthy mother plant.
Remember to keep the cutting away from direct sunlight, change the water regularly, use rooting hormone if necessary, and maintain consistent temperature and humidity levels.
Related Content
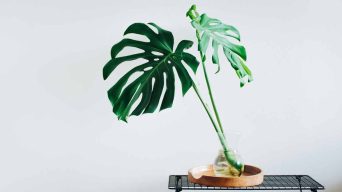 How to Propagate Monstera in Water: A Step-by-Step Guide
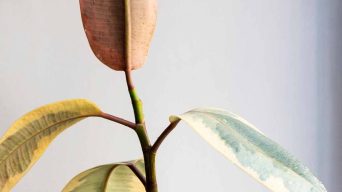
 How to Grow Rubber Plants Indoors (A Comprehensive Guide)
 How to Repot Coleus Plants (A Step-by-Step Guide)
 Repotting Rhododendron Plants (A Step-by-Step Guide)
 How To Save a Rubber Plant From Root Rot (A Complete Guide)
 How To Fix a Leggy Rubber Plant (An Easy Guide)