Key Takeaways
- Repotting schefflera plants is crucial for improving root health, water, and nutrient uptake and promoting increased growth and vitality.
- Signs that your plant needs repotting include roots growing out of the drainage holes, slowed or stunted growth, yellowing leaves, compressed soil in the pot, or water running straight through the potting mix without being absorbed by the roots.
- To avoid common mistakes when repotting Schefflera plants, it’s best to choose a pot no more than 2 inches bigger in diameter than the previous one. Use a well-draining soil mixture consisting of 2 parts peat moss, 1 part perlite, and 1 part compost. Avoid overwatering your plant after repotting, and wait at least 2-3 weeks before fertilizing.
- Proper care, such as appropriate light exposure (bright but indirect), managing pests & diseases with neem oil or insecticidal soap, and regularly pruning above leaf junctions, will help ensure your newly repotted Schefflera plant remains healthy and vibrant.
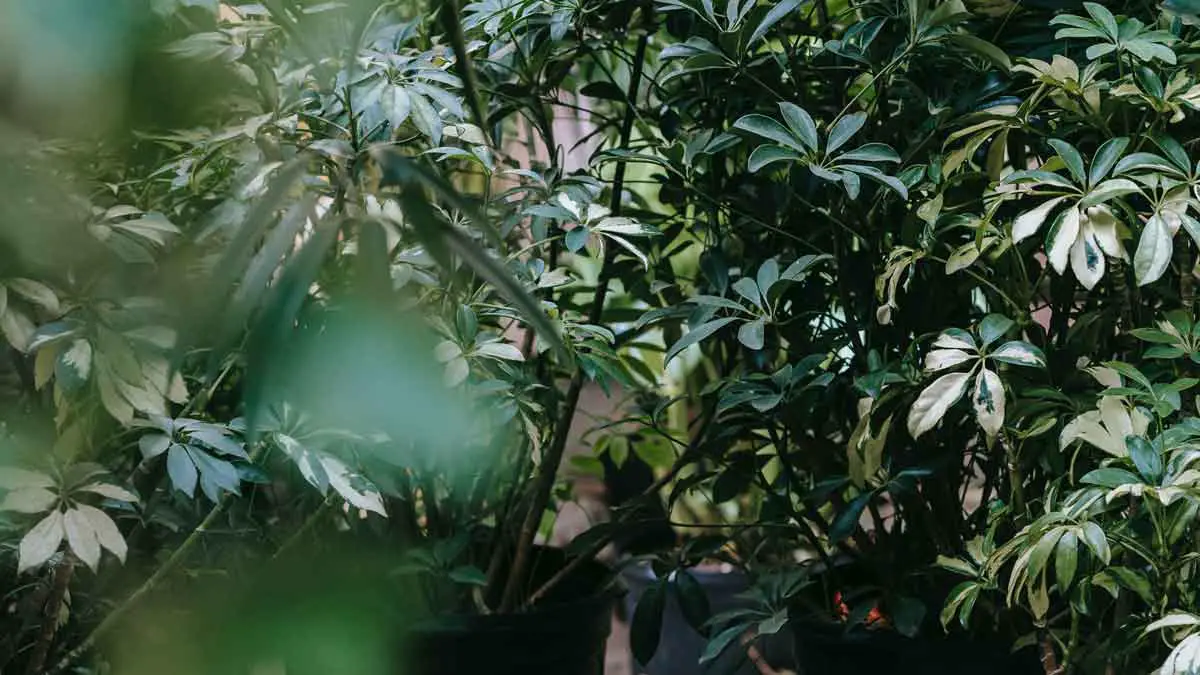
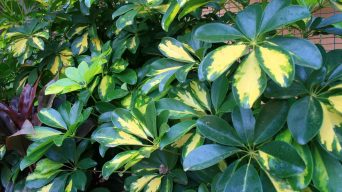
Schefflera plants, commonly known as the umbrella tree or dwarf umbrella tree, are stunning and low-maintenance indoor houseplants that can transform your living space into an indoor jungle.
However, repotting is crucial to schefflera care to ensure their continued health and vitality.
This guide will cover everything you need to know about repotting schefflera plants – from recognizing when it’s time for a change to choosing the right pot and soil mix.
The Importance Of Repotting Your Schefflera Plant
It’s essential to repot your Schefflera plant to enhance root health, water, and nutrient absorption and encourage robust growth and vitality.
Improved Root Health
One of the primary reasons for repotting your Schefflera plant is to improve its overall root health.
As the plant matures, it will inevitably outgrow its current container, leading to cramped roots that can’t spread and absorb nutrients effectively.
This can cause a decline in growth and vitality over time.
Improved root health means better access to essential nutrients and prevents potential issues such as root rot or fungal infections caused by overcrowded conditions.
For example, an enthusiastic gardener, Lisa, noticed her once-thriving Schefflera displaying yellowing leaves and stunted growth.
Upon examining the container, she found her plant was severely root-bound – a condition where tangled roots form a dense mass at the pot’s base – causing stress on her beloved umbrella tree.
Better Water And Nutrient Uptake
Repotting your Schefflera plant provides fresh soil and extra space and vastly improves water and nutrient uptake, resulting in a more vigorous and healthy plant.
When the roots of your beloved Dwarf Umbrella Tree are tightly packed together in its current container, they may struggle to access essential nutrients and moisture.
This enhanced root system allows for better hydration by absorbing water more efficiently from the moist soil while increasing their access to much-needed nutrients like nitrogen and phosphorus found in balanced fertilizer.
Your Schefflera plant’s growth will improve with better water and nutrient absorption.
You’ll notice lush foliage, new shoots during the growing season, vibrant leaf coloration, and overall vitality, making it an even more beautiful addition to your indoor jungle.
Increased Growth And Vitality
Repotting your Schefflera plant ensures improved root health and better water and nutrient uptake, leading to increased growth and vitality.
This is primarily because fresh, nutrient-rich soil provides an optimal environment for the roots to expand and access essential nutrients more efficiently.
For example, if you repot your dwarf umbrella tree during its growing season (spring or summer), it can demonstrate significant new growth within just a few weeks.
By consistently repotting your Schefflera every few years or as needed, you establish ideal conditions that allow it to thrive in your indoor jungle as a beautiful addition to any space.
When To Repot Your Schefflera Plant
If you want to know when to repot your Schefflera plant, keep an eye out for indications such as roots emerging from the drainage holes, a reduction in growth rate, or a general decline in health.
You should do this at the beginning of the growing season.
Signs That Your Plant Needs Repotting
Your Schefflera plant will give you some visible cues when it’s time to be repotted.
Here are five signs that your plant needs repotting:
- Roots appearing through the drainage holes at the bottom of the pot
- Slow growth or stunted growth
- Leaves yellowing and dropping off more than usual
- Water running straight through the potting mix without being absorbed by the roots
- The soil in your pot appears compressed or hard, which can restrict root expansion
Best Time Of Year For Repotting
The best time to repot your Schefflera plant is during the growing season, which typically starts in the spring and lasts until early fall.
This is when the plant is in its most active growth phase and can benefit from being transplanted into a new container with fresh soil.
Repotting earlier than this can shock the plant’s system and hinder its growth while waiting too long can cause root rot and other problems.
Additionally, it’s important to avoid repotting during periods of extreme heat or cold, as these conditions may stress the plant further.
How To Repot A Schefflera Plant Step-by-Step
Learn how to repot your Schefflera plant in just a few easy steps, from choosing the right pot and soil mixture to properly preparing the plant for transplanting, watering, and fertilizing after repotting.
Choosing The Right Pot And Soil Mixture
Choosing the right pot and soil mixture is crucial for a healthy Schefflera plant.
When selecting a new pot, it’s best to choose one that’s 2 inches bigger in diameter than the previous one to provide enough space for roots to grow.
Ensure the pot has drainage holes at the bottom, allowing excess water to drain out easily.
For soil mixtures, a well-draining potting mix consisting of 2 parts peat moss, 1 part perlite, and 1 part compost works perfectly for repotting Schefflera plants.
This combination will help prevent root rot by promoting adequate drainage while providing nutrient-rich soil for optimal growth.
After filling up and preparing your chosen container with this mixture, transplant your plant carefully without damaging its roots.
Preparing The Plant For Repotting Without Damaging It
Before repotting your Schefflera plant, preparing it properly to avoid damage is important.
Begin by watering the plant a few days before repotting it.
This will make the roots more pliable and less likely to break during the process.
Inspect the roots for any signs of rot or disease and remove them with clean shears if necessary.
Trim off any dead or yellowing leaves as well.
If your plant has become too large for its current pot, consider dividing it into two smaller pots rather than transplanting it into one giant pot, which might be challenging to handle in future repottings.
Transplanting The Plant Into A New Container
Once you have chosen a suitable pot and soil mixture, it’s time to transplant your Schefflera plant.
Before removing the plant from its current container, water it thoroughly to make removing the root ball easier.
Carefully turn the pot upside down while supporting the base of the plant with your other hand.
Next, carefully loosen up and spread out the roots with your fingers before placing them into their new home.
Spread a layer of fresh soil at the bottom of your new container before positioning your Schefflera in place and filling in around it with more soil mix.
Press gently on top of the soil to remove any air pockets, then give it a good watering so it settles around all parts of the root system.
Watering And Fertilizing After Repotting
After repotting your Schefflera plant, it is important to water and fertilize properly to ensure healthy growth.
The first few weeks after repotting are crucial, and you should be careful not to overwater or underwater the plant during this time.
As for fertilization, wait at least 2-3 weeks after repotting before applying any fertilizer.
This gives the roots enough time to settle in their new environment.
A balanced fertilizer with equal amounts of nitrogen, phosphorus, and potassium will work well for Schefflera plants.
Apply fertilizer every 4-6 weeks during the growing season (spring and summer) and reduce fertilization frequency in fall and winter when the plant’s growth slows down.
Caring For Your Repotted Schefflera Plant
If you have recently repotted your Schefflera plant, taking specific steps to ensure its health is important.
This includes providing the appropriate amount of light and maintaining a suitable temperature.
You should also be vigilant about managing pests or diseases using neem or insecticidal soap.
Finally, pruning and shaping can be helpful techniques to maintain the plant’s health over time.
Proper Light And Temperature Requirements
Schefflera plants require bright, indirect light to thrive.
Placing the plant near a window with filtered sunlight or where it can receive six hours of indirect sunlight is ideal.
In terms of temperature, Schefflera plants prefer temperatures between 60 to 75 degrees Fahrenheit.
They are sensitive to sudden temperature changes and drafts, so keep your Schefflera away from drafty windows or air conditioning vents that could cause stress.
Managing Pests And Diseases
As a plant owner, you must know the common pests and diseases that may attack your Schefflera plant.
Here are some tips on how to manage them:
- Mealybugs: These small, white insects feed on the plant’s sap and secrete a sticky substance called honeydew, which attracts ants. To remove mealybugs, wipe down the leaves with a cotton swab soaked in rubbing alcohol or spray with insecticidal soap.
- Scale insects: These tiny pests can be difficult to spot as they blend in with the plant’s bark. They also secrete honeydew, which can attract ants and mold. Wipe down the leaves with water and dish soap, or use insecticidal soap to manage scale insects.
- Spider mites: These tiny pests can cause webbing on the leaves and cause them to turn brown or yellow. To manage spider mites, wash down the leaves with water frequently or use a neem oil spray.
- Root rot: Overwatering can lead to root rot, characterized by black mushy roots and yellow leaves. To prevent root rot, use a well-draining potting mix and water only when the top inch of soil is dry.
- Bacterial leaf spot: This disease is caused by water splashing onto the leaves, creating brownish-black spots. To prevent bacterial leaf spot, avoid overhead watering and keep the plant in an area with good air circulation.
Proper care for your Schefflera plant is crucial in managing pests and diseases.
Regularly check your plant for any signs of infestation or diseases so they can be managed promptly before they cause severe damage to your plant’s health!
Pruning And Shaping Techniques
Pruning and shaping your Schefflera plant is essential in maintaining its shape and promoting growth.
Use sterile pruning tools to avoid spreading diseases, and prune back stems above a leaf junction to encourage branching.
You can also pinch back new growth at the top of the plant to achieve a bushier appearance.
It’s important not to remove more than 25% of the foliage at once, as this can shock the plant.
Additionally, removing lower leaves turning yellow or brown will direct more energy toward healthy leaves and new growth.
Common Mistakes To Avoid When Repotting Your Schefflera Plant
Avoid making these common mistakes when repotting your Schefflera plant: choosing a pot too large, using the wrong soil mixture, repotting too frequently, and damaging the roots.
Choosing A Pot Too Large
One common mistake to avoid when repotting Schefflera plants is choosing a pot that is too large.
While giving your plant plenty of room to grow may seem like a good idea, an oversized pot can lead to overwatering and root rot.
When roots are surrounded by too much soil, they cannot absorb water efficiently, and the excess moisture can cause them to rot.
For example, if your Schefflera plant is in a six-inch pot, you could move it up to an eight-inch one for its next growth spurt.
This will allow enough space for new roots while still providing adequate support.
Remember that even though these plants have fast growth rates, they don’t need frequent repotting and should only be moved into two or three inches larger pots each time.
Using The Wrong Soil Mixture
Choosing the right soil mix when repotting your Schefflera plant is crucial for its overall health and growth. Using the wrong mixture can lead to stunted growth, root rot, or even death.
Avoid using heavy, compacted soil, as it can prevent proper drainage and limit oxygen flow to the roots.
To achieve this perfect soil blend for your plant, consider adding peat moss or organic matter to improve its texture and drainage capabilities. Additionally, avoid using garden soil from the outside that may contain pests or diseases harmful to your indoor Schefflera plants.
Repotting Too Frequently
One of the most common mistakes when repotting a Schefflera plant is doing it too frequently.
Repotting too often can cause stress to the plant, as it disrupts its root system and may damage delicate roots.
It’s important to consider a few factors before deciding to repot your plant, such as the rate of growth and size of your Schefflera.
Generally, you should aim to repot every 2-3 years or when you notice that the plant has outgrown its current pot.
Damaging The Roots
One critical mistake to avoid when repotting your Schefflera plant is damaging the roots.
When removing the plant from its old container, it’s important to handle it gently and avoid pulling on the stem or leaves too forcefully.
To prevent this from happening, try loosening up the soil around the edges of the container with a garden fork or trowel before attempting to remove your Schefflera.
This technique will help ease out any tangled roots without breaking them apart.
When transplanting into a new pot, fill in any gaps with fresh soil mix and pat down firmly but not too tightly.
Final Thoughts
Repotting your Schefflera plant is essential to ensure its healthy growth and vitality.
By following the steps outlined above, you can give your plant the best chance to thrive indoors.
Whether you’re a seasoned indoor gardener or just starting out, repotting your Schefflera can be a satisfying DIY project that pays off in lush foliage and fresh air for years.
Remember to choose the right pot and soil mixture, prune regularly, and water consistently for optimal results.
Related Content
 Repotting Echeveria Plants (Everything You Need to Know)
 How Often Should You Water Schefflera Plants (An Easy Guide)
 Schefflera Leaves Turning Black? (11 Causes and Solutions)
 Schefflera Leaves Drooping? (7 Causes and Solutions)
 Schefflera Leaves Turning Brown? (Causes and Solutions)
 How to Prune a Schefflera Plant (Tips and Techniques)